> For the complete documentation index, see [llms.txt](https://docs-embed.anyflow.jp/llms.txt). Markdown versions of documentation pages are available by appending `.md` to page URLs; this page is available as [Markdown](https://docs-embed.anyflow.jp/recipe/communication/slackbot-custom-original-bot.md).
# 独自のSlackBotを設定する
## **概要**
SlackBotコネクタには、デフォルトでは**Anyflowが作成したSlackBot**が設定されています。
Anyflowのものでない独自のSlackBotを設定する方法について、このページで紹介します。
## **手順**
大まかな流れは以下のとおりです。
1. 独自のSlackBotを作成します(作成済の場合はスキップ可能)
2. SlackBotの Client ID と Client Secret をAnyflow CSチームに共有します
3. Anyflow側で設定を行うと独自のSlackBotからメッセージ投稿が行えるようになります
4. (任意)Slack側でのアプリ審査を行う
### **1.独自のSlackBotを作成する**
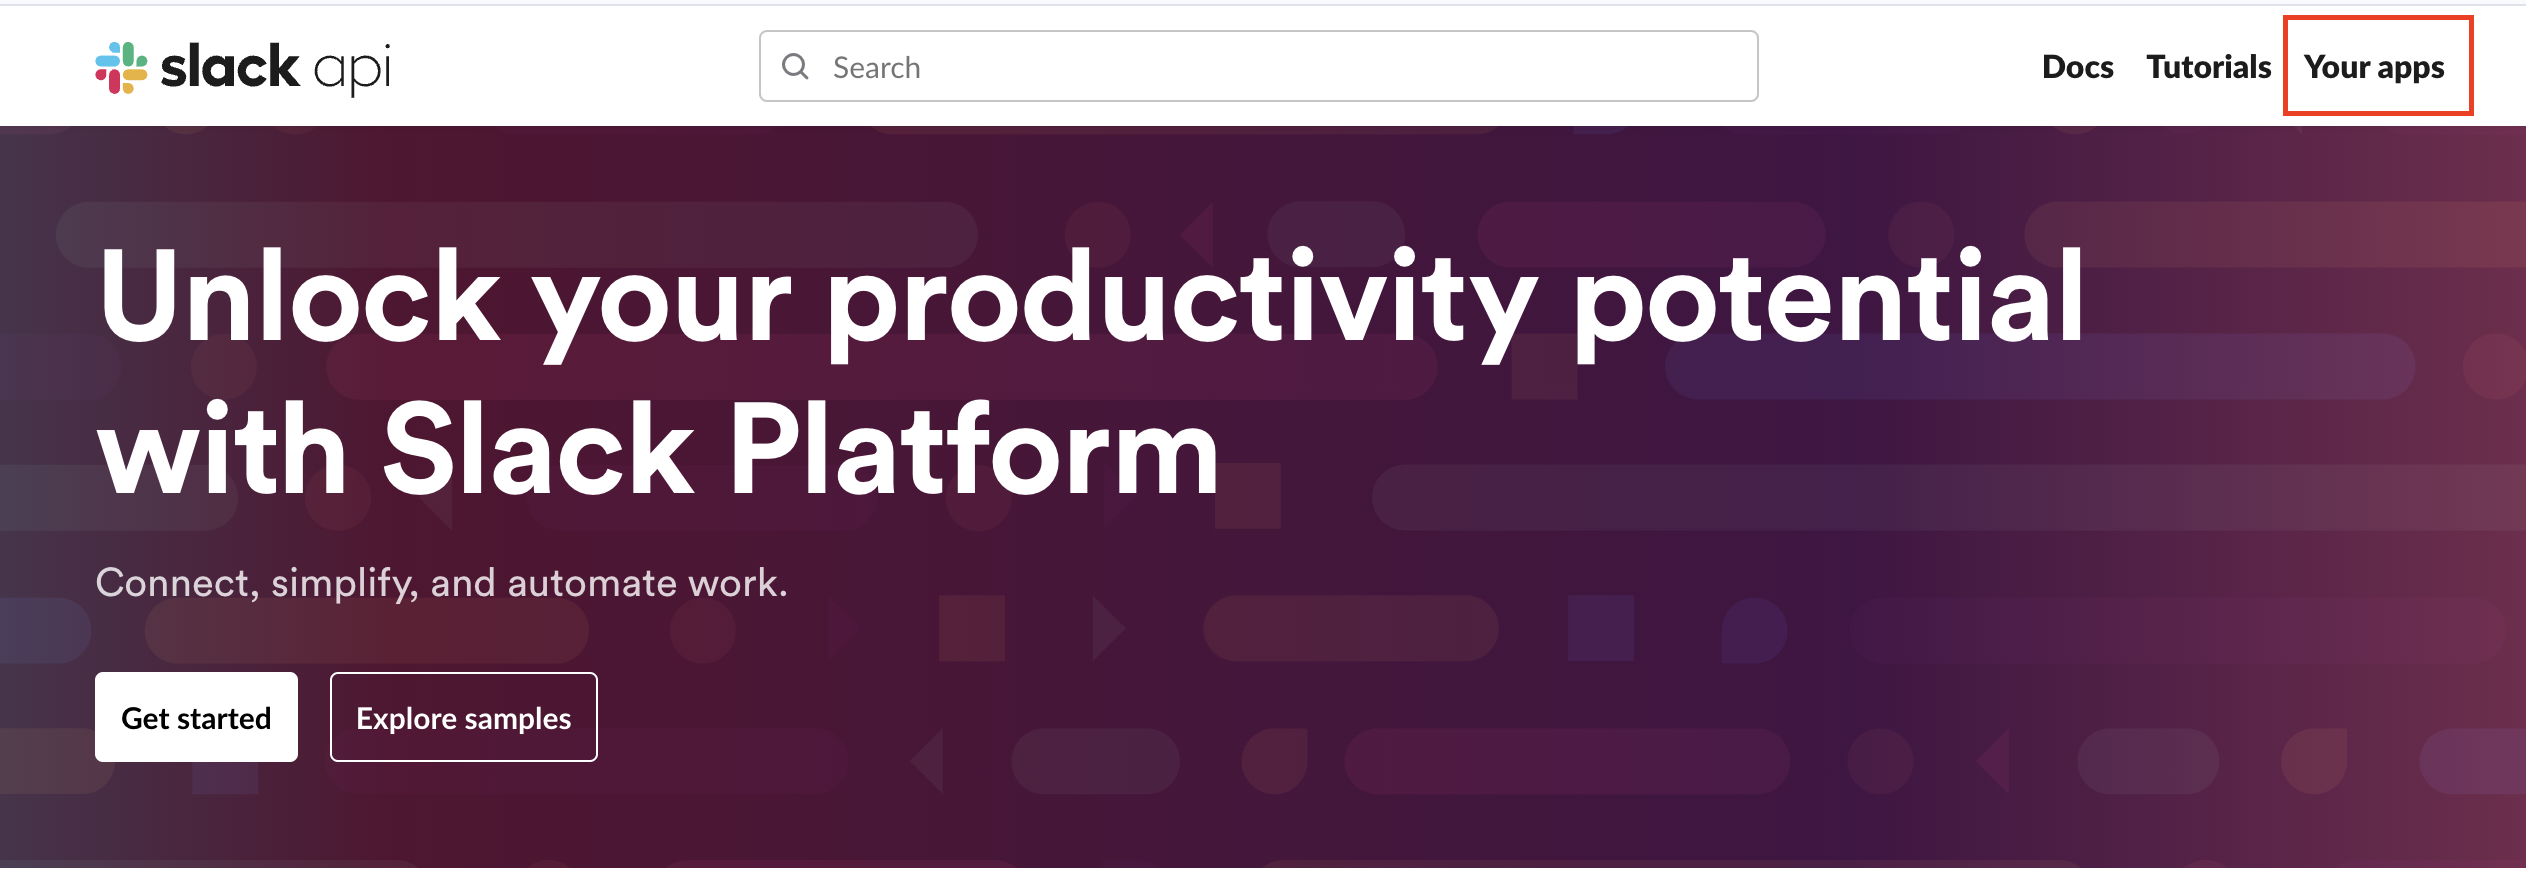
[Slack API](https://api.slack.com/)のページから、[Your Apps](https://api.slack.com/apps)に 進みます。
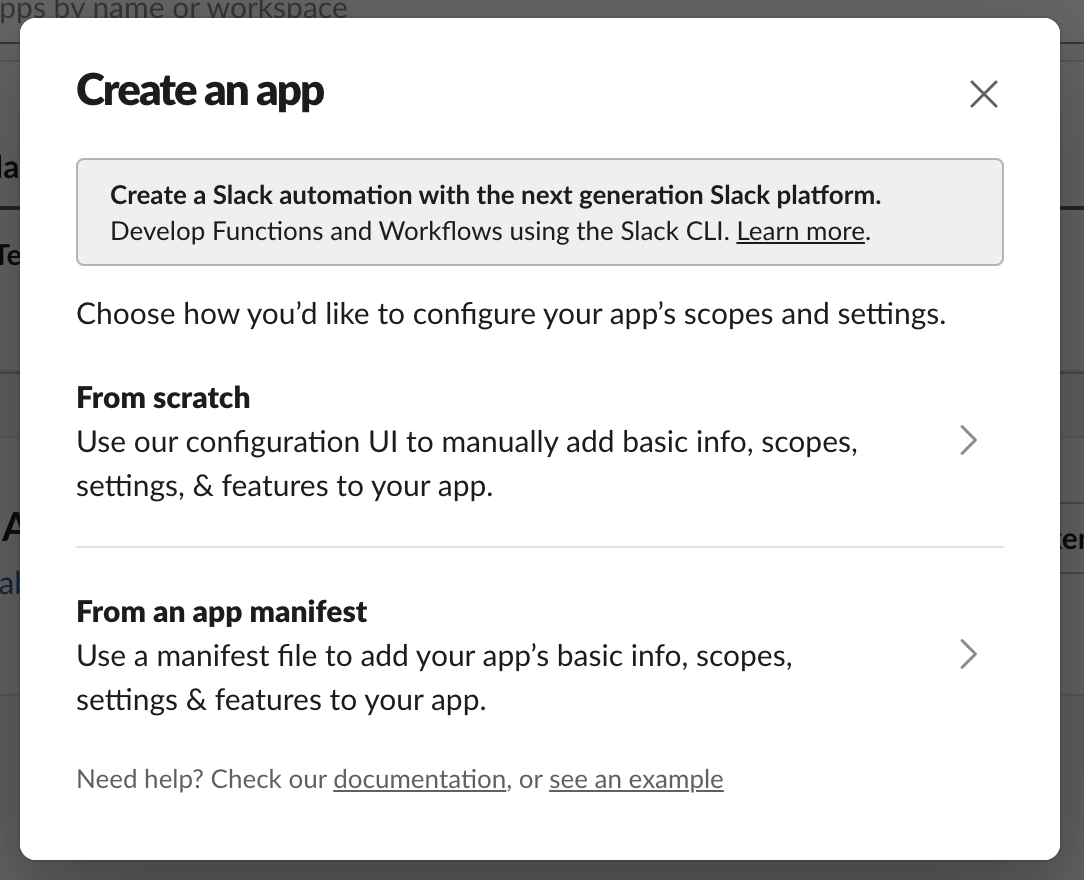
Create New App を選択します。
モーダルからFrom scratch を選択します。
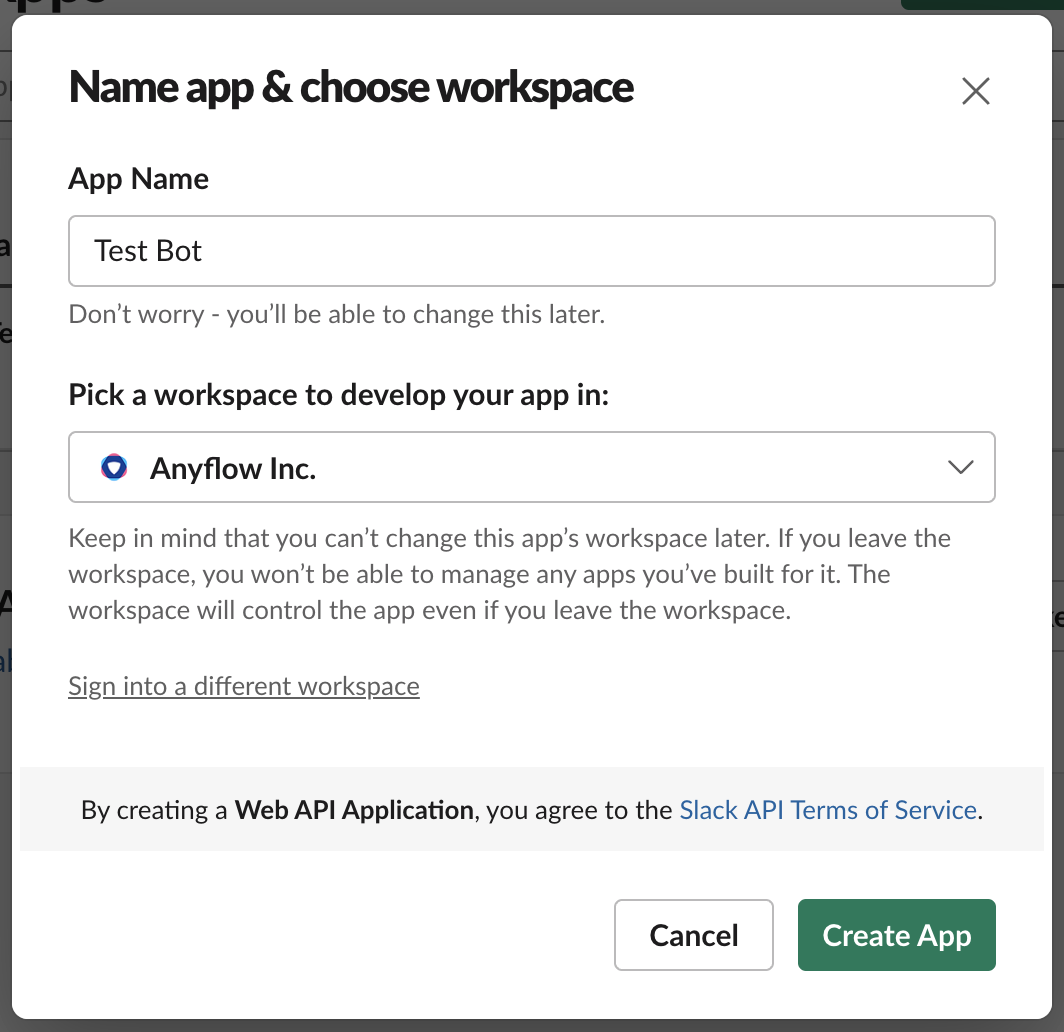
App Name, workspace を設定し、Create App を選択します。
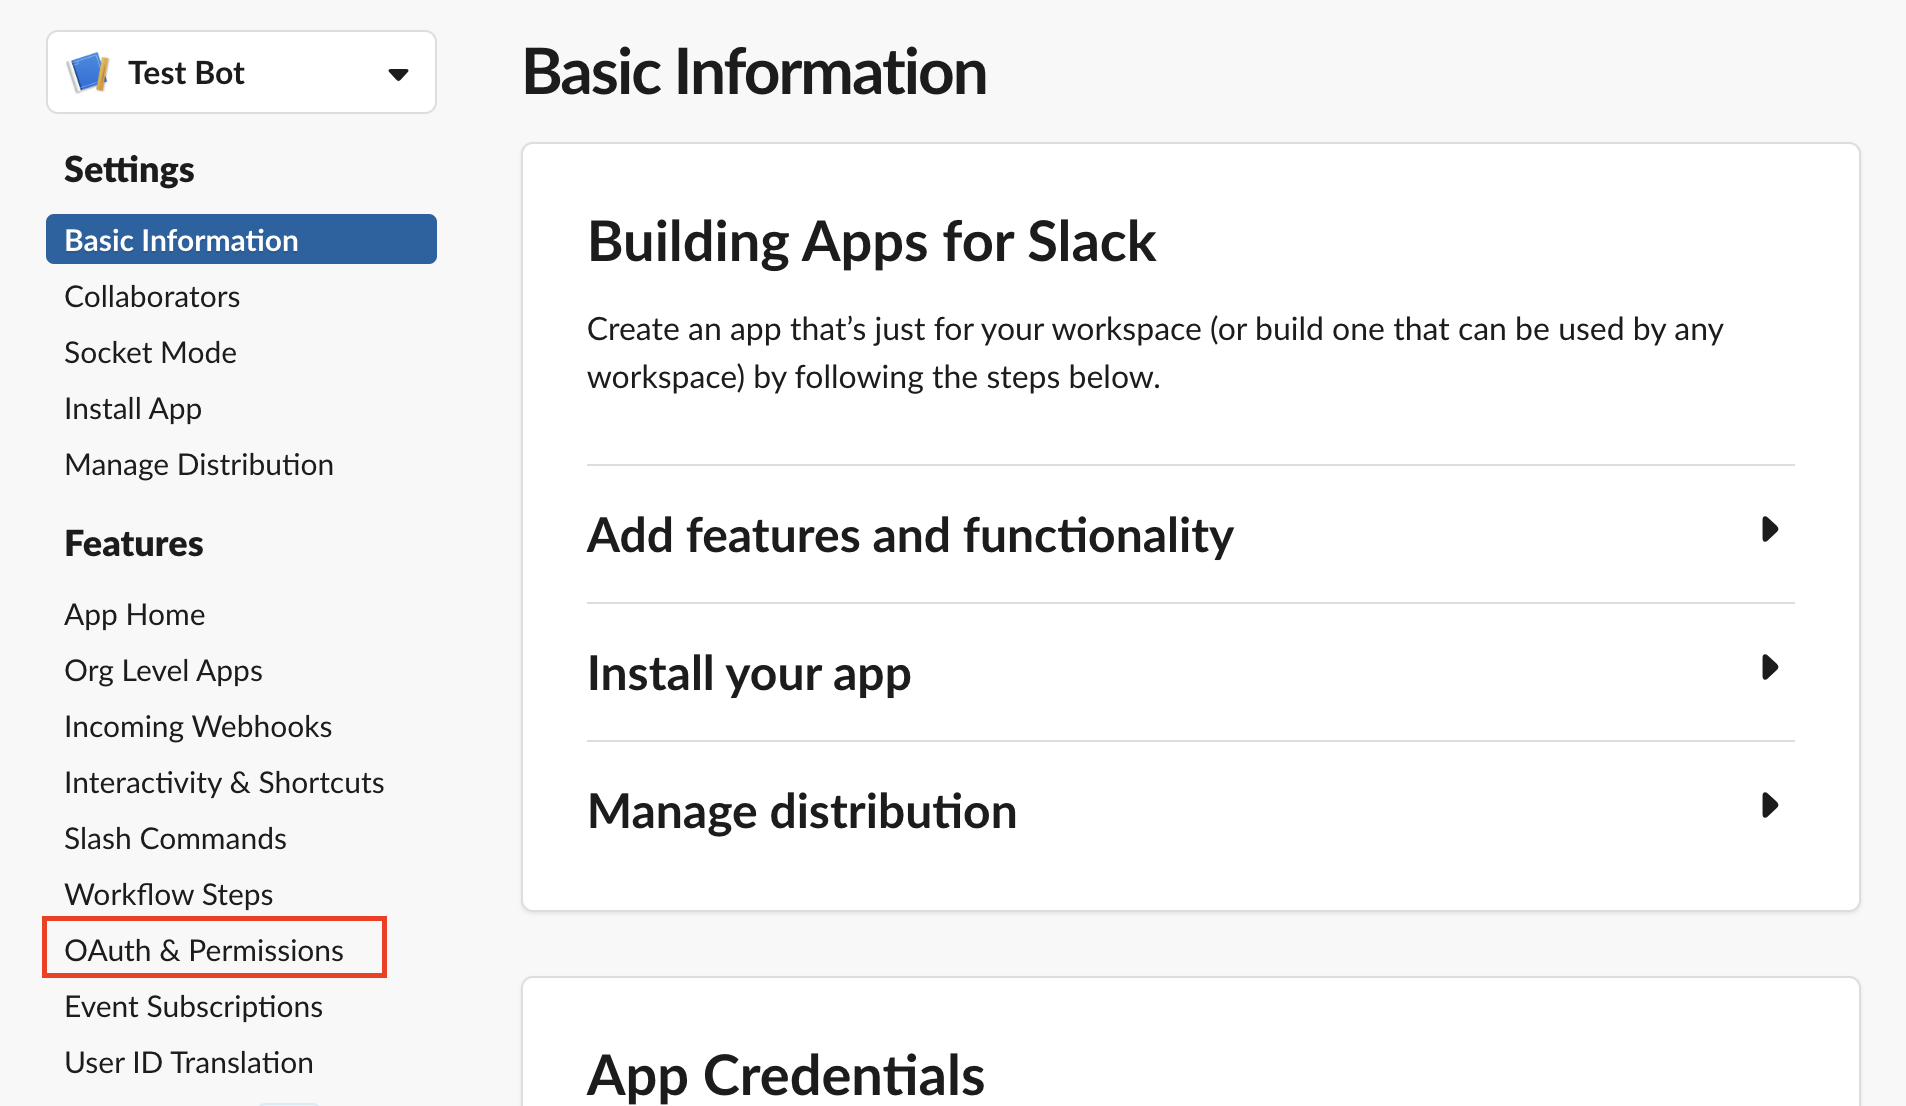
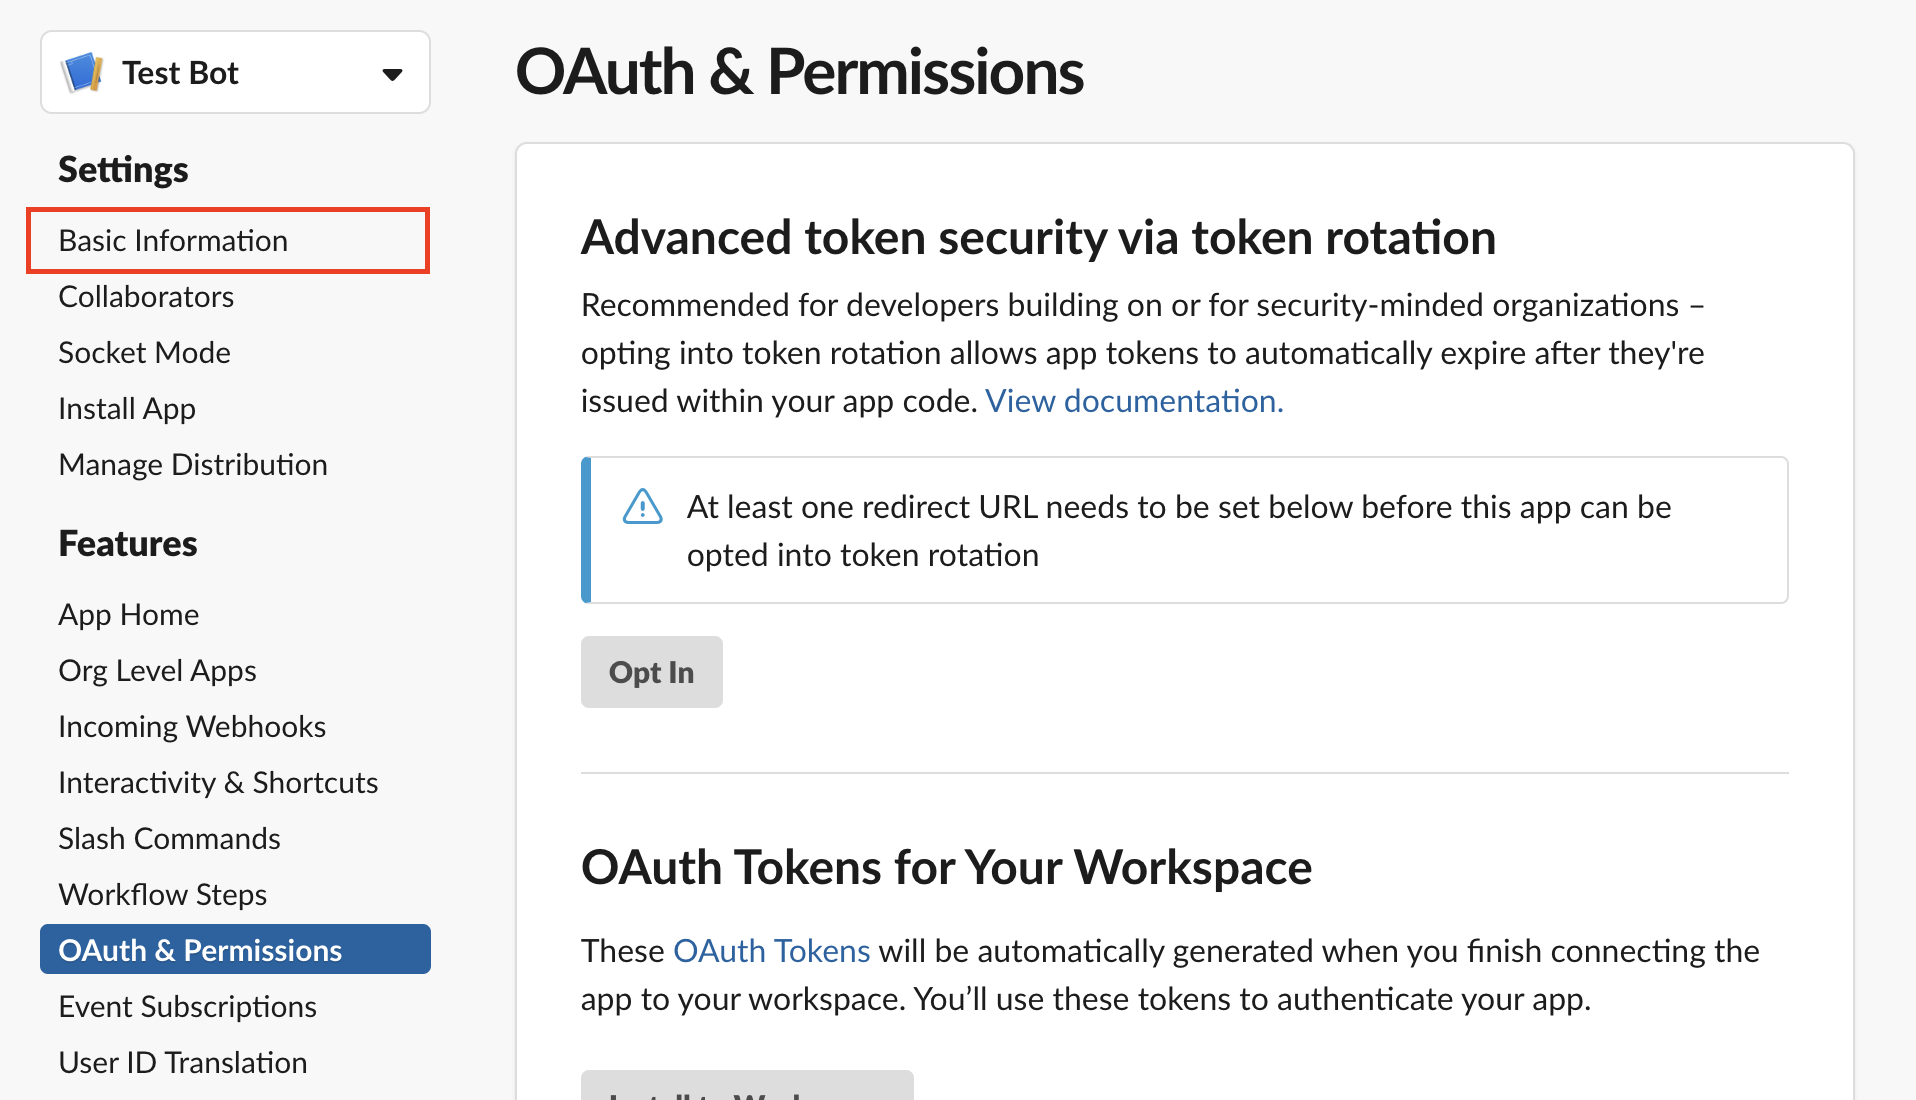
左メニューから、OAuth & Permissions を選択します。
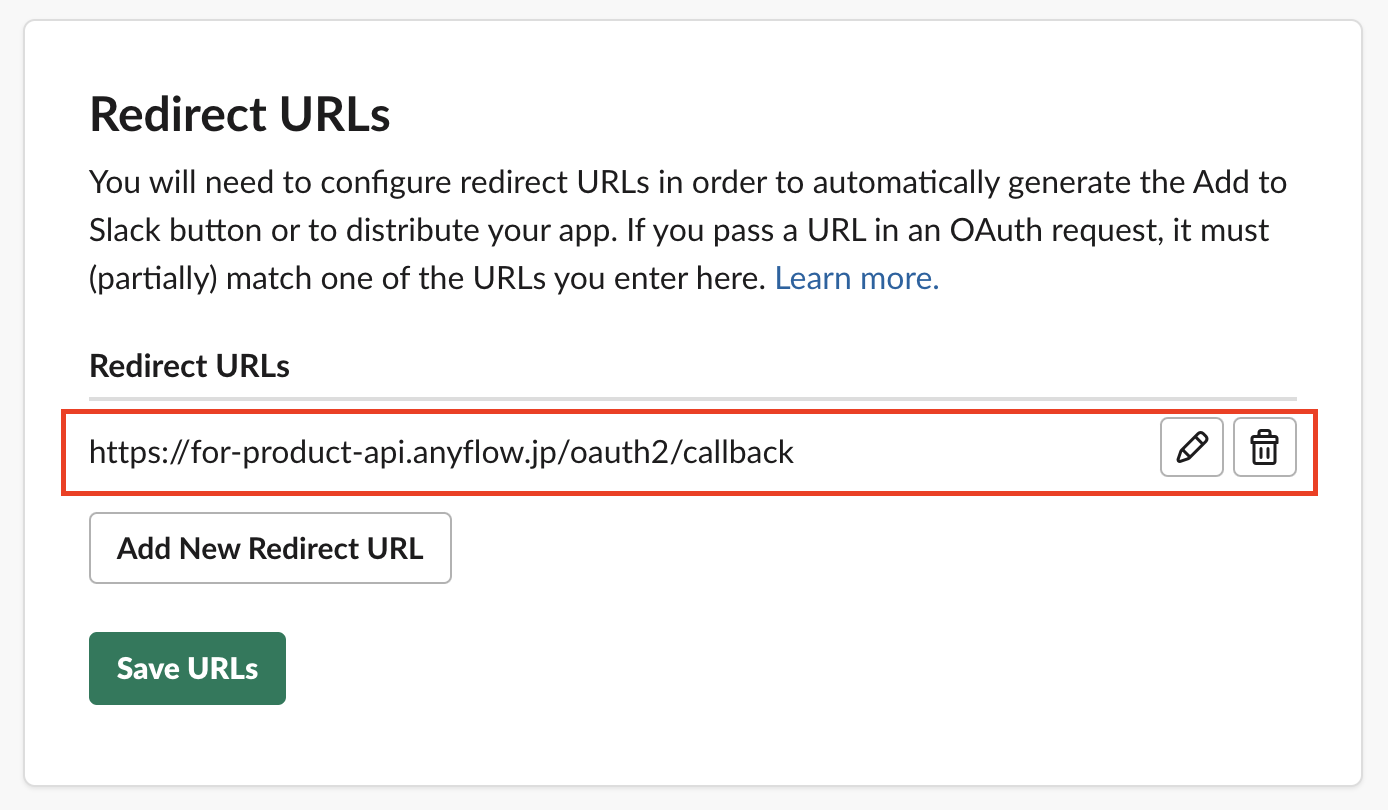
Redirect URLS の欄で以下のコールバックURLを追加し、Save URLs を押します。
追加するURL:
```
https://for-product-api.anyflow.jp/oauth2/callback
```
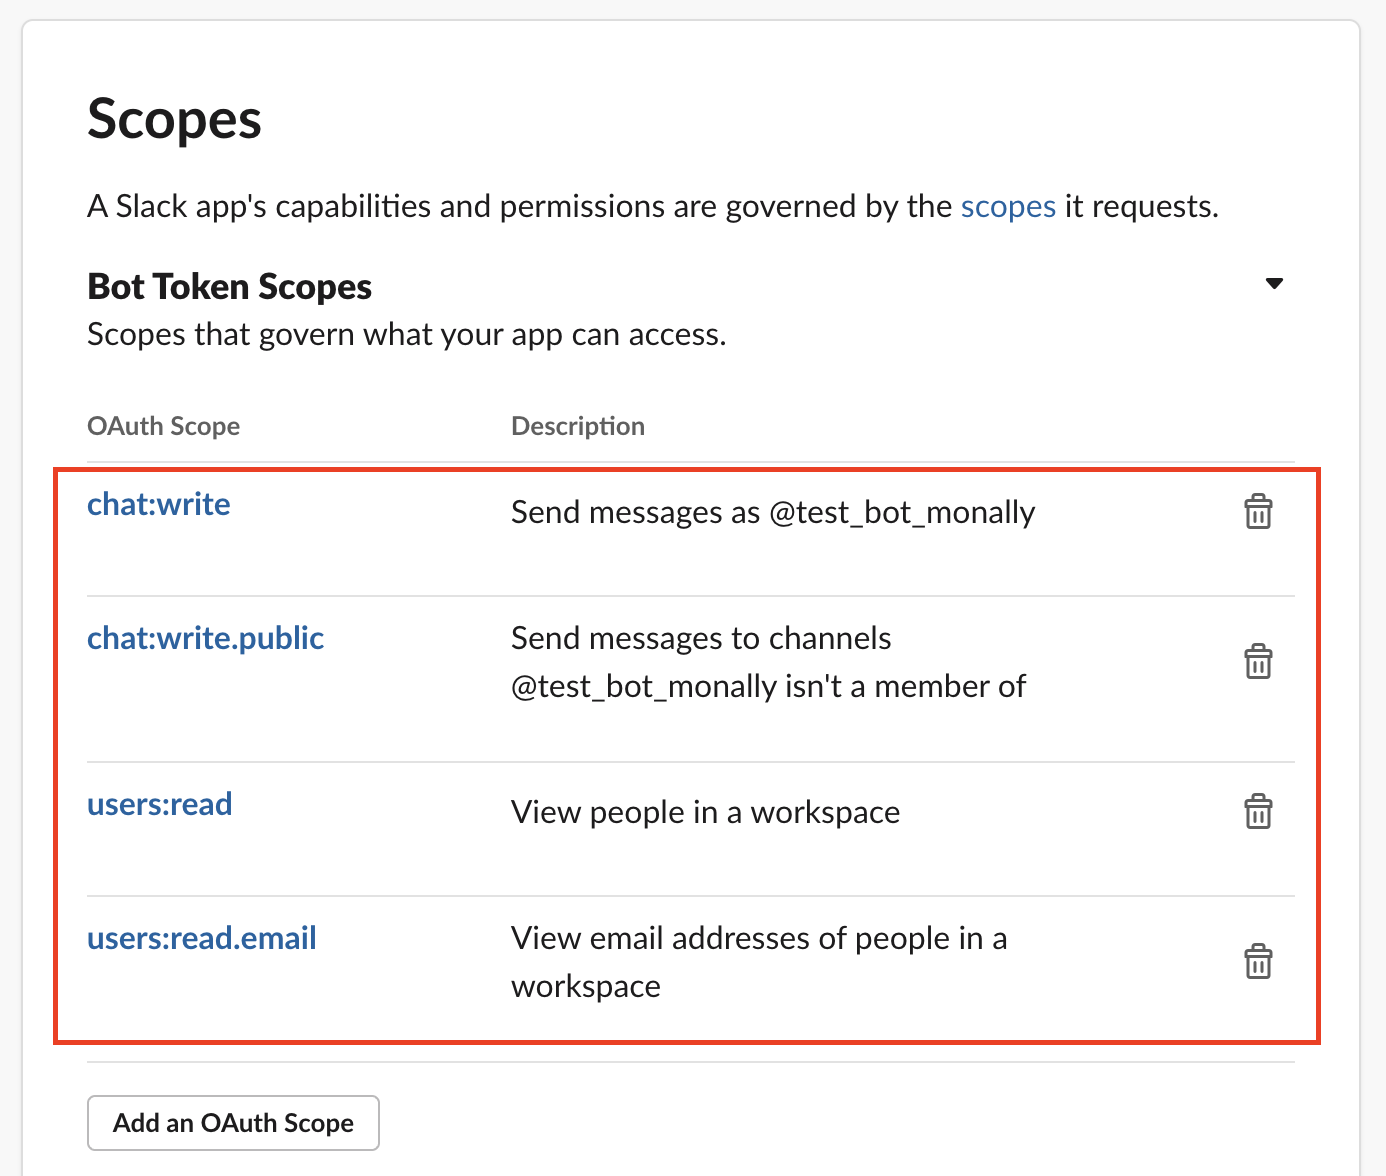
Scopes の欄で以下のスコープを追加します。
追加するスコープ:
```
"users:read",
"chat:write",
"chat:write.public",
"users:read.email"
```
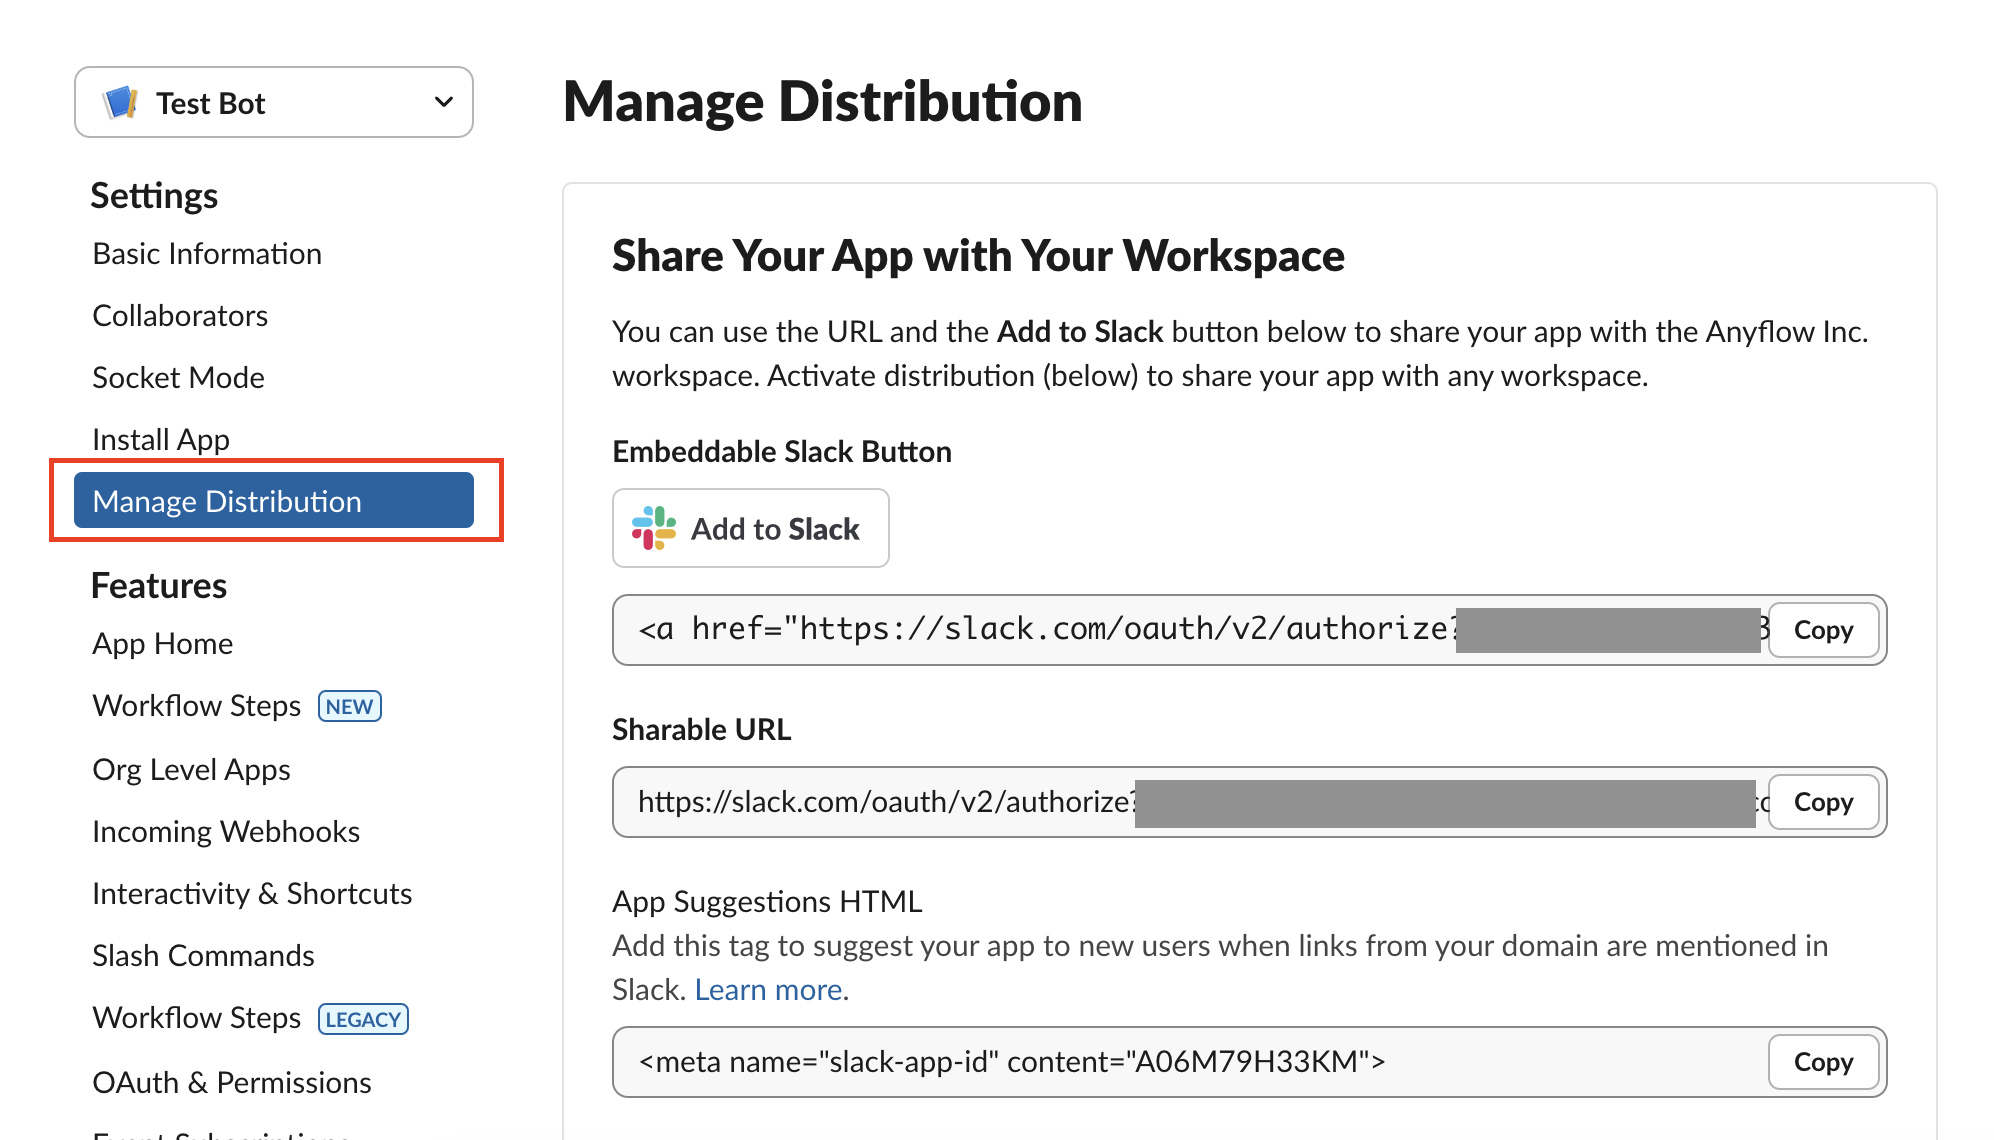
左側のメニューから「Manage Distribution」を選択します。
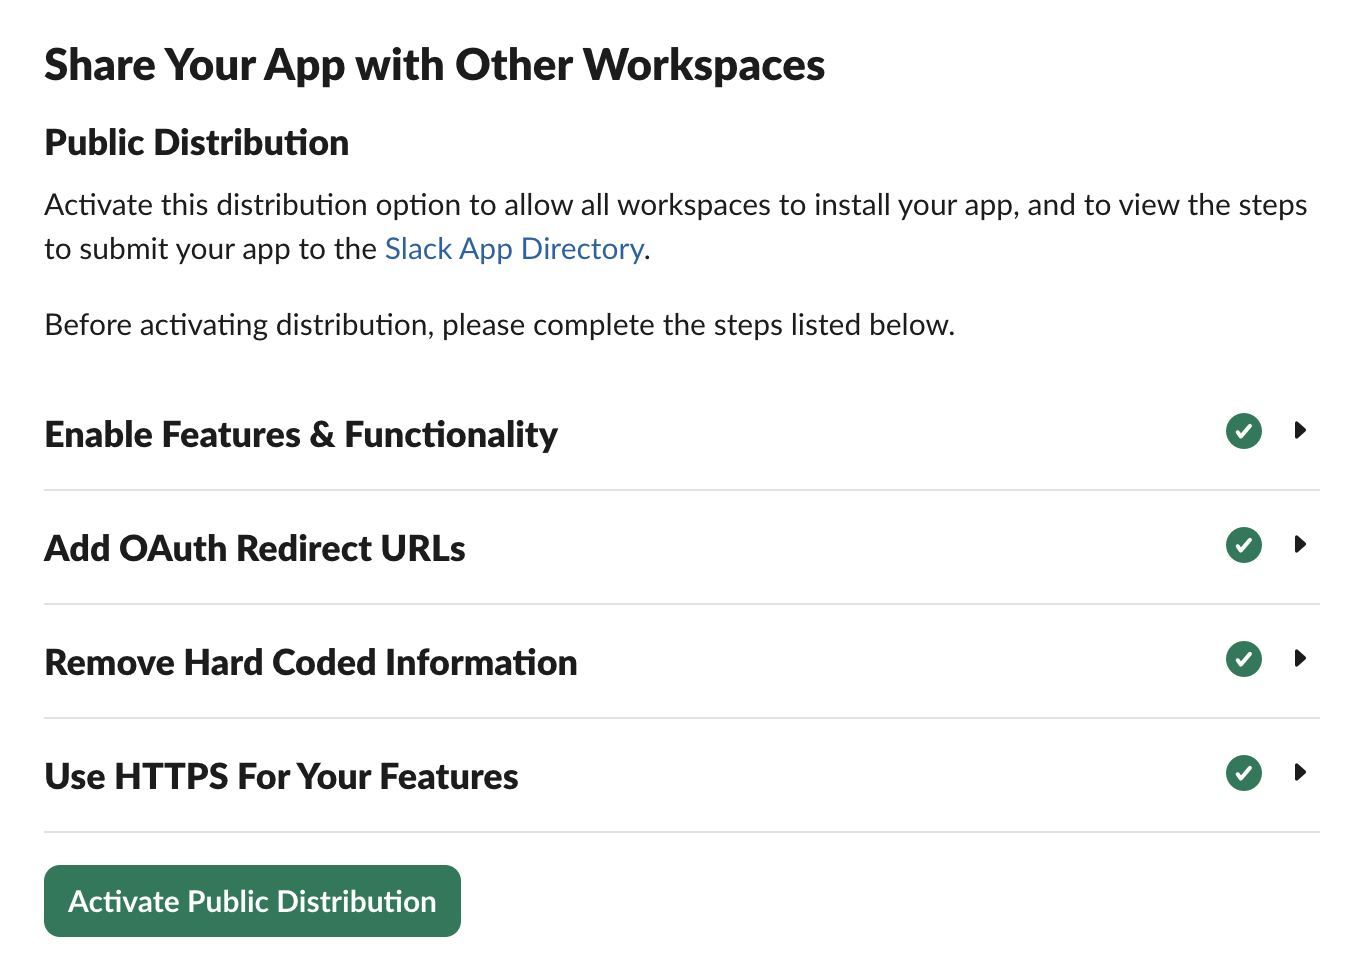
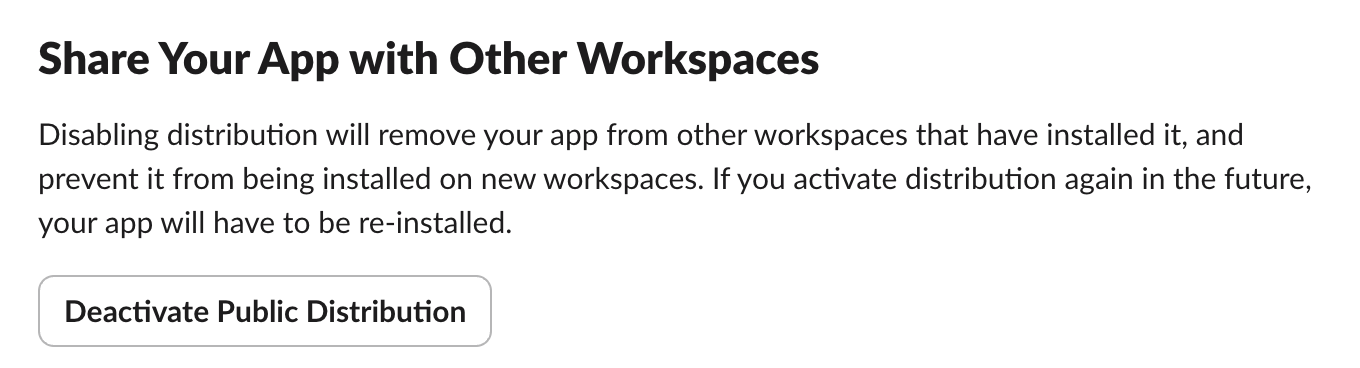
下にスクロールし、「Share Your App with Other Workspaces」のセクションに進みます。\
4つの条件が全てクリアされていると、「Active Public Distribution」のボタンが有効になります。
「Active Public Distribution」のボタンを押すと、このアプリは他のワークスペースからでもインストールできるようになります。
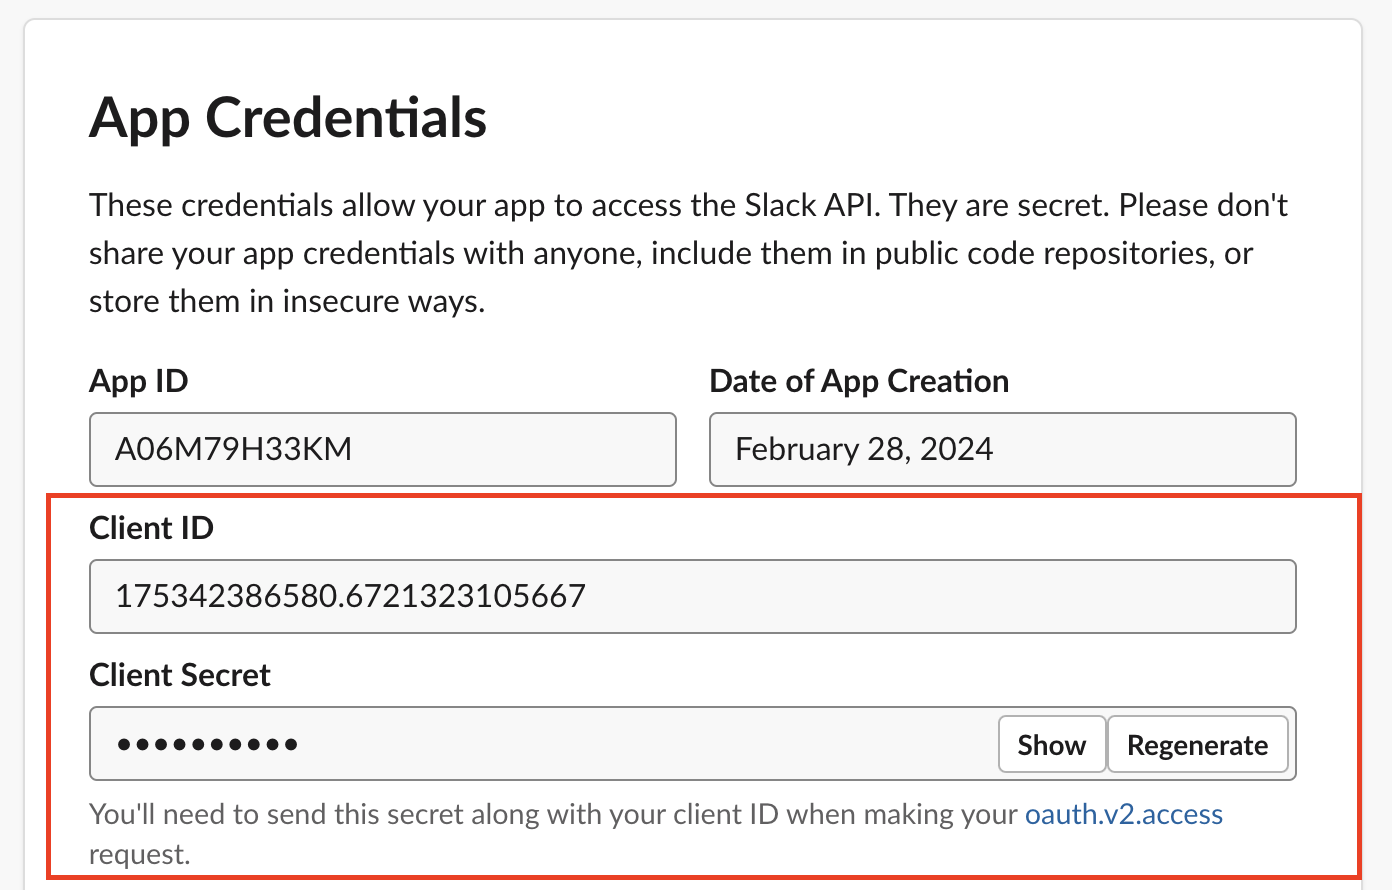
左メニューから Basic Information に進みます。
App Credentials の欄にある Client ID と Client Secret の値をAnyflow CSチームにご共有ください。
Anyflow側にて、OAuth Client をカスタムする設定が完了すると、独自のSlackBotからメッセージ投稿が行えるようになります。
Botのアイコンや表示名などの設定も自由に行ってください。\
(基本的に Client ID, Secret に変更がなければ、Botの見た目やスコープなどの設定は即時反映されます。Anyflowへの共有は不要です)
{% hint style="success" %}
### 📘ヒント
Slack Bot 以外のコネクタでも独自のOAuthクライアントを設定できます。\
詳しくはOAuth画面をカスタムするをご確認ください。
{% endhint %}
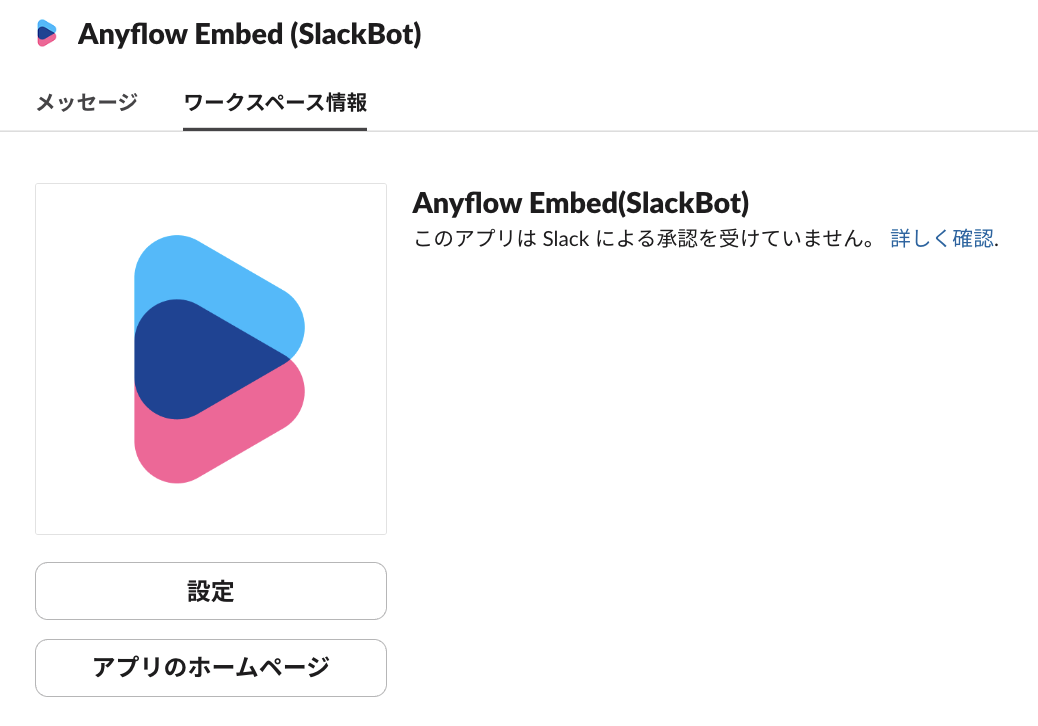
Slack App Directory にアプリを追加すると、エンドユーザーがApp Directoryからアプリを検索して取得できるようになるほか、以下の「このアプリはSlackによる承認を受けていません。」の表示がなくなります。
Slack App Directory にアプリを追加するには、Slack側でのアプリ審査が必要となります。\
詳しくは以下のページをご確認ください。
**Slack App ディレクトリにアプリを提出しよう**\
---
# Agent Instructions
This documentation is published with GitBook. GitBook is the documentation platform designed so that both humans and AI agents can read, navigate, and reason over technical content effectively. Learn more at gitbook.com.
## Querying This Documentation
If you need additional information that is not directly available in this page, you can query the documentation by asking a question.
Perform an HTTP GET request on the following URL with the `ask` and `goal` query parameters:
```
GET https://docs-embed.anyflow.jp/recipe/communication/slackbot-custom-original-bot.md?ask=&goal=
```
`ask` is the immediate question: it should be specific, self-contained, and written in natural language.
`goal` is what the user is ultimately trying to achieve, the reason they need the answer. Sharing it helps GitBook give you a better, more relevant answer. A goal is most helpful when it describes the outcome the user wants rather than restating the question. For example, with `ask=how do I create an API token`, a goal like `automate deployments from our CI pipeline` lets GitBook tailor the answer to that use case.
The response will contain a direct answer to the question and relevant excerpts and sources from the documentation.
Use this mechanism when the answer is not explicitly present in the current page, you need clarification or additional context, or you want to retrieve related documentation sections.