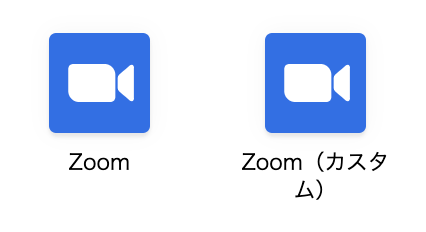
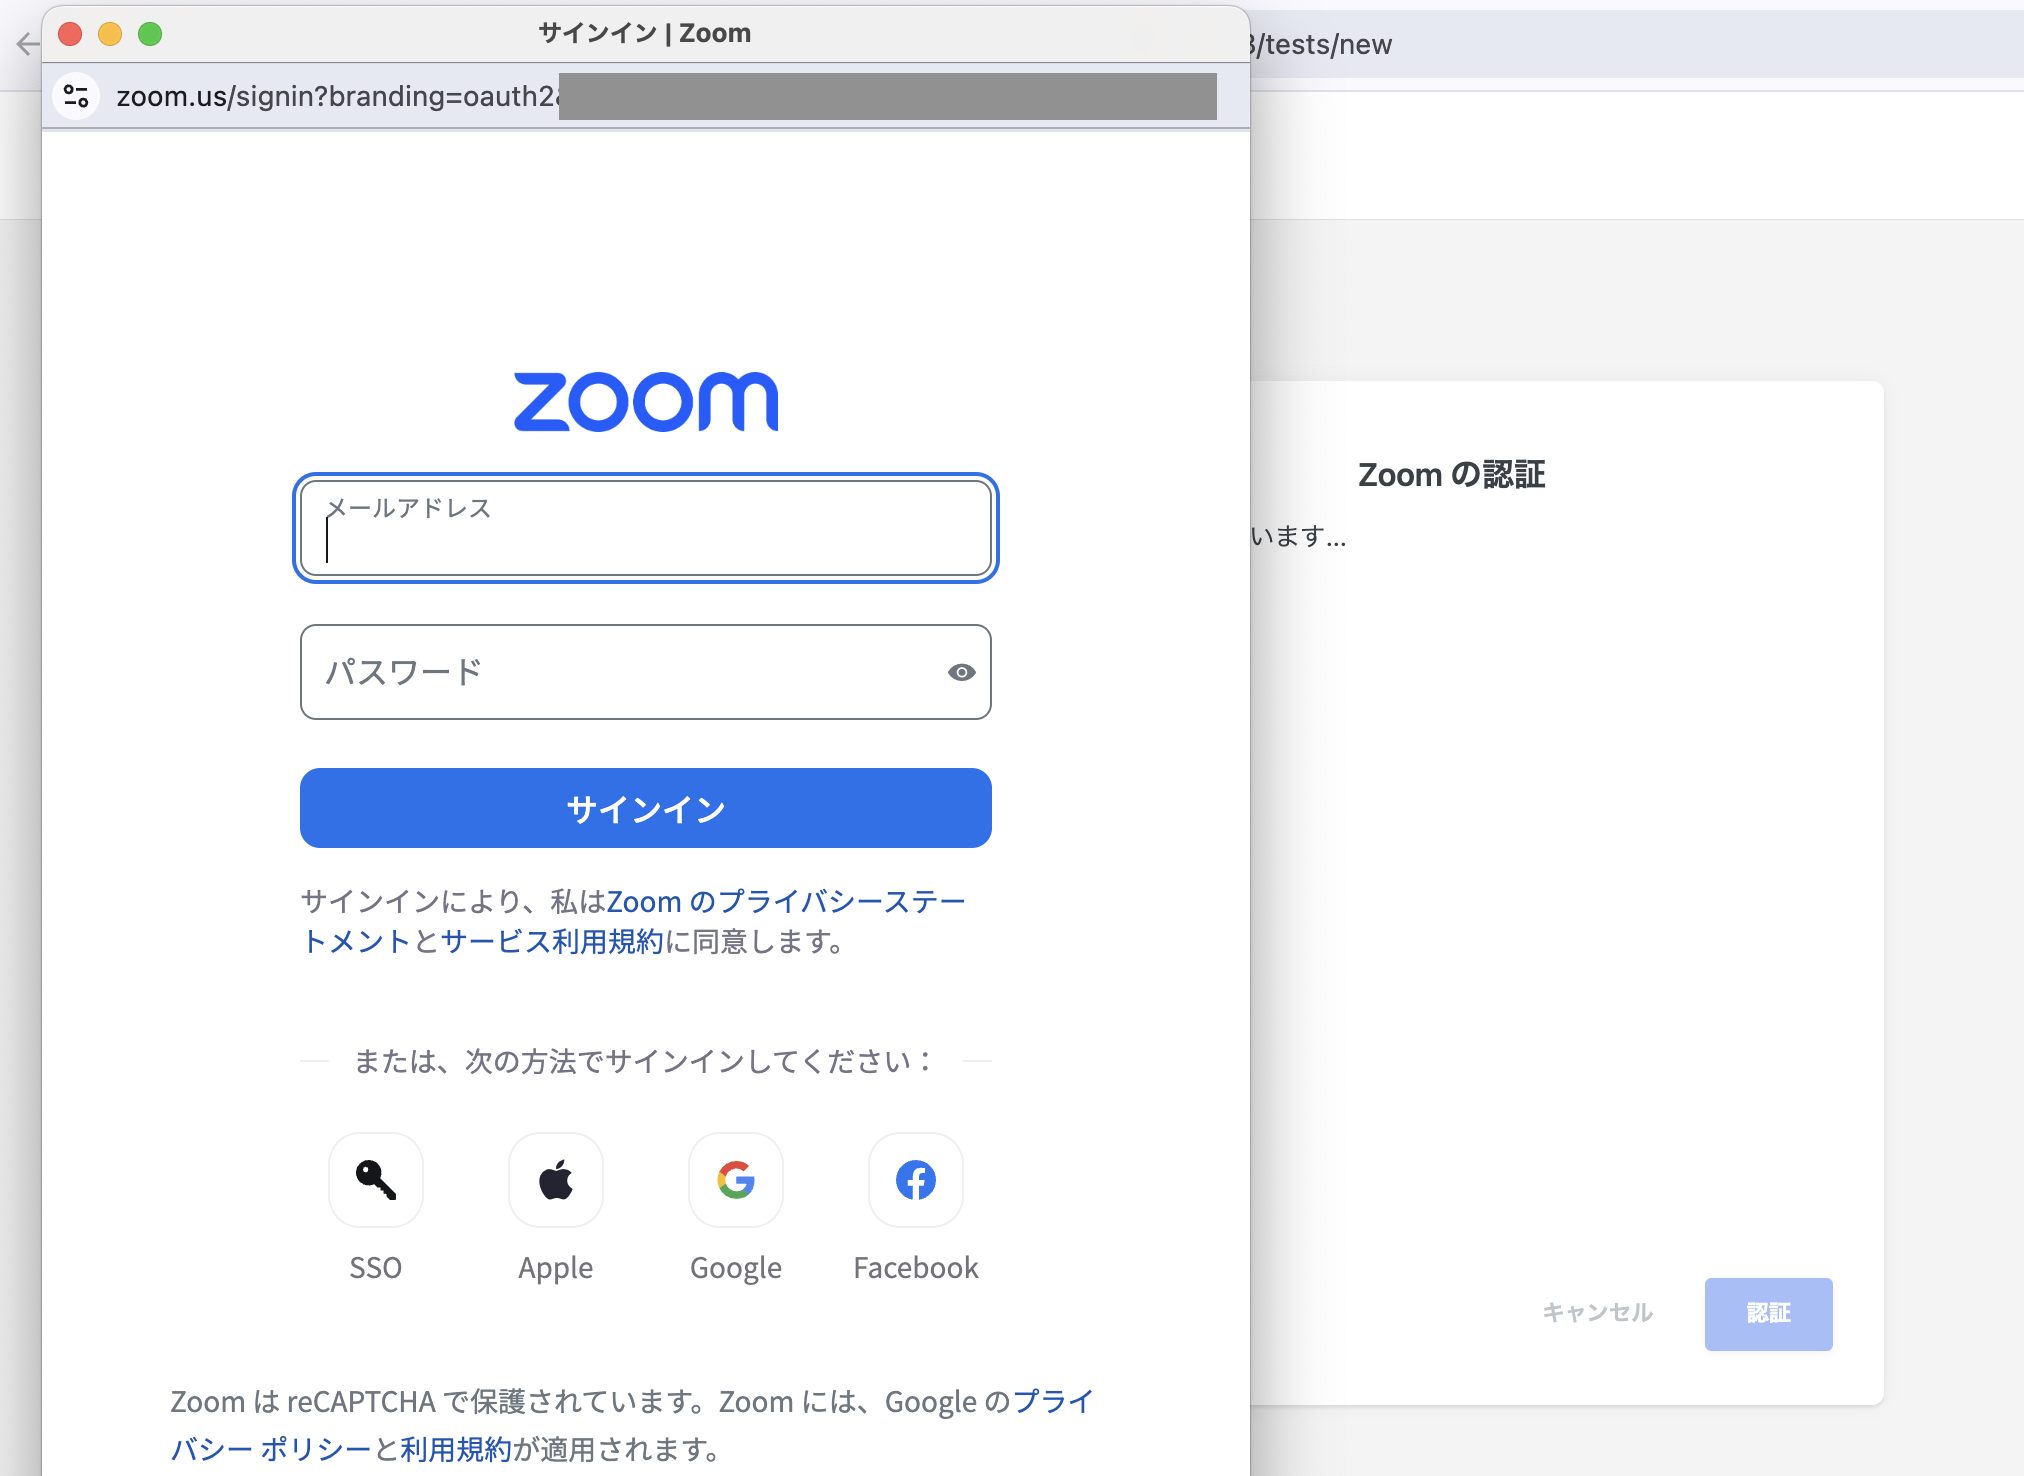
Zoomアプリの認証
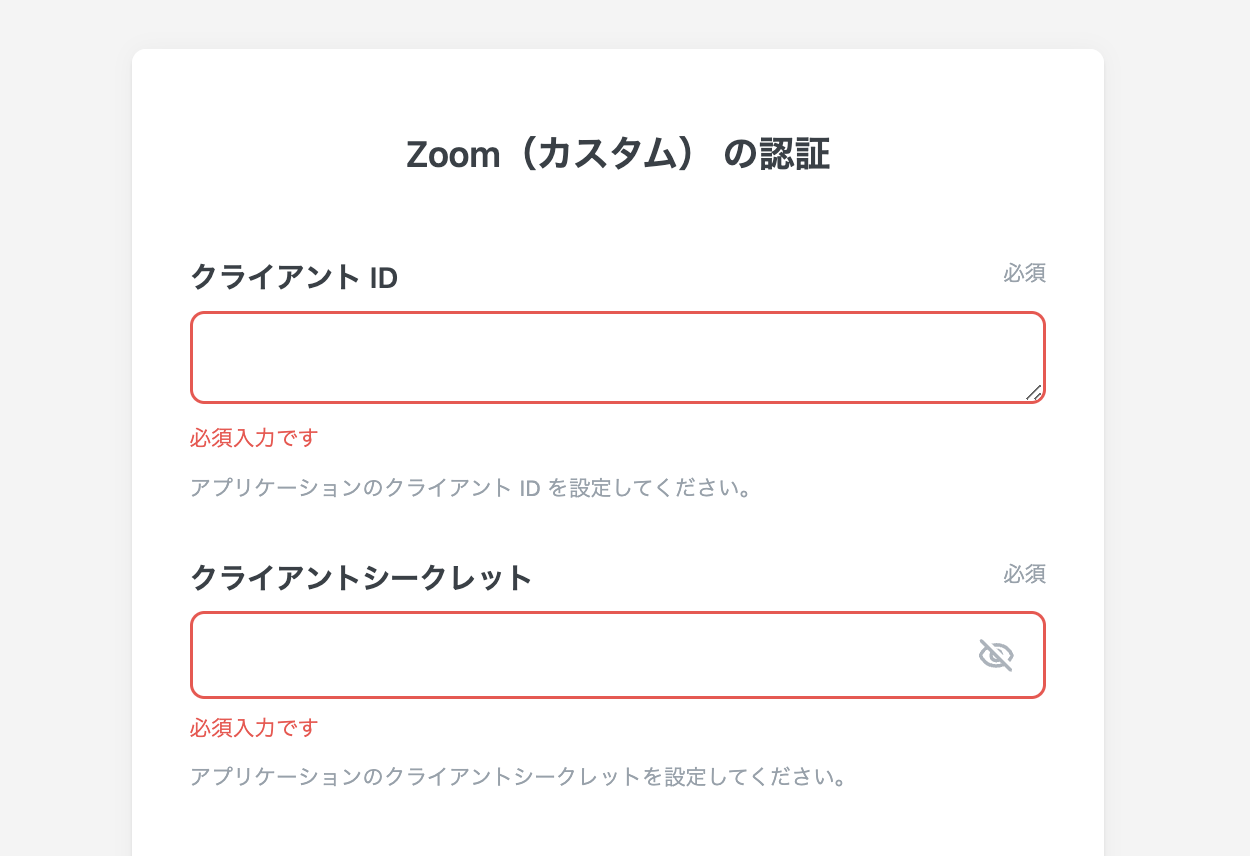
Zoom(カスタム)アプリの認証
| # | アプリ | エンドユーザーの認証方式 | ベンダーに必要な作業 |
|---|---|---|---|
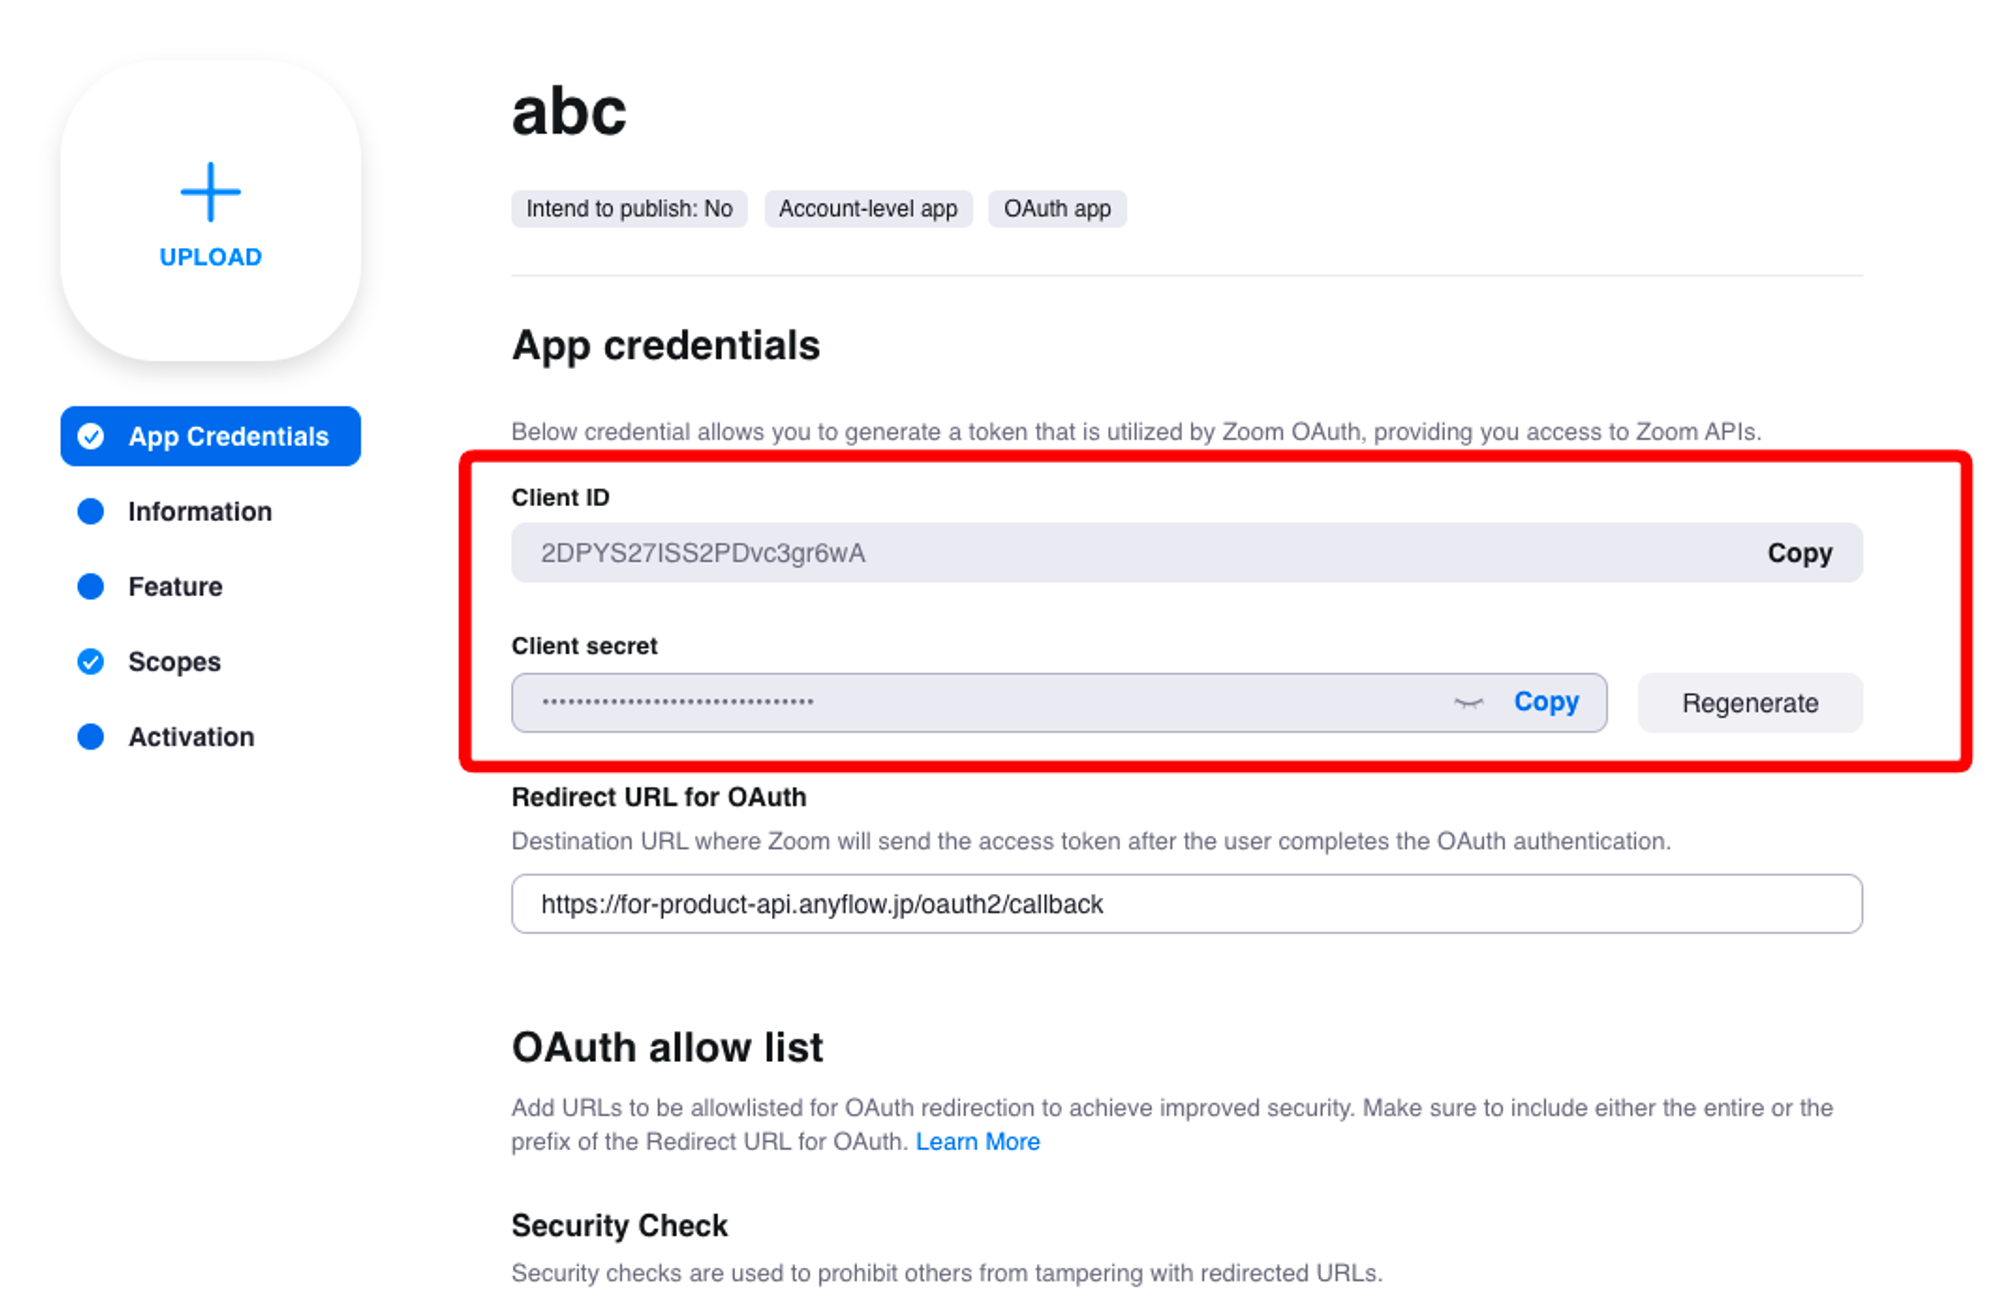
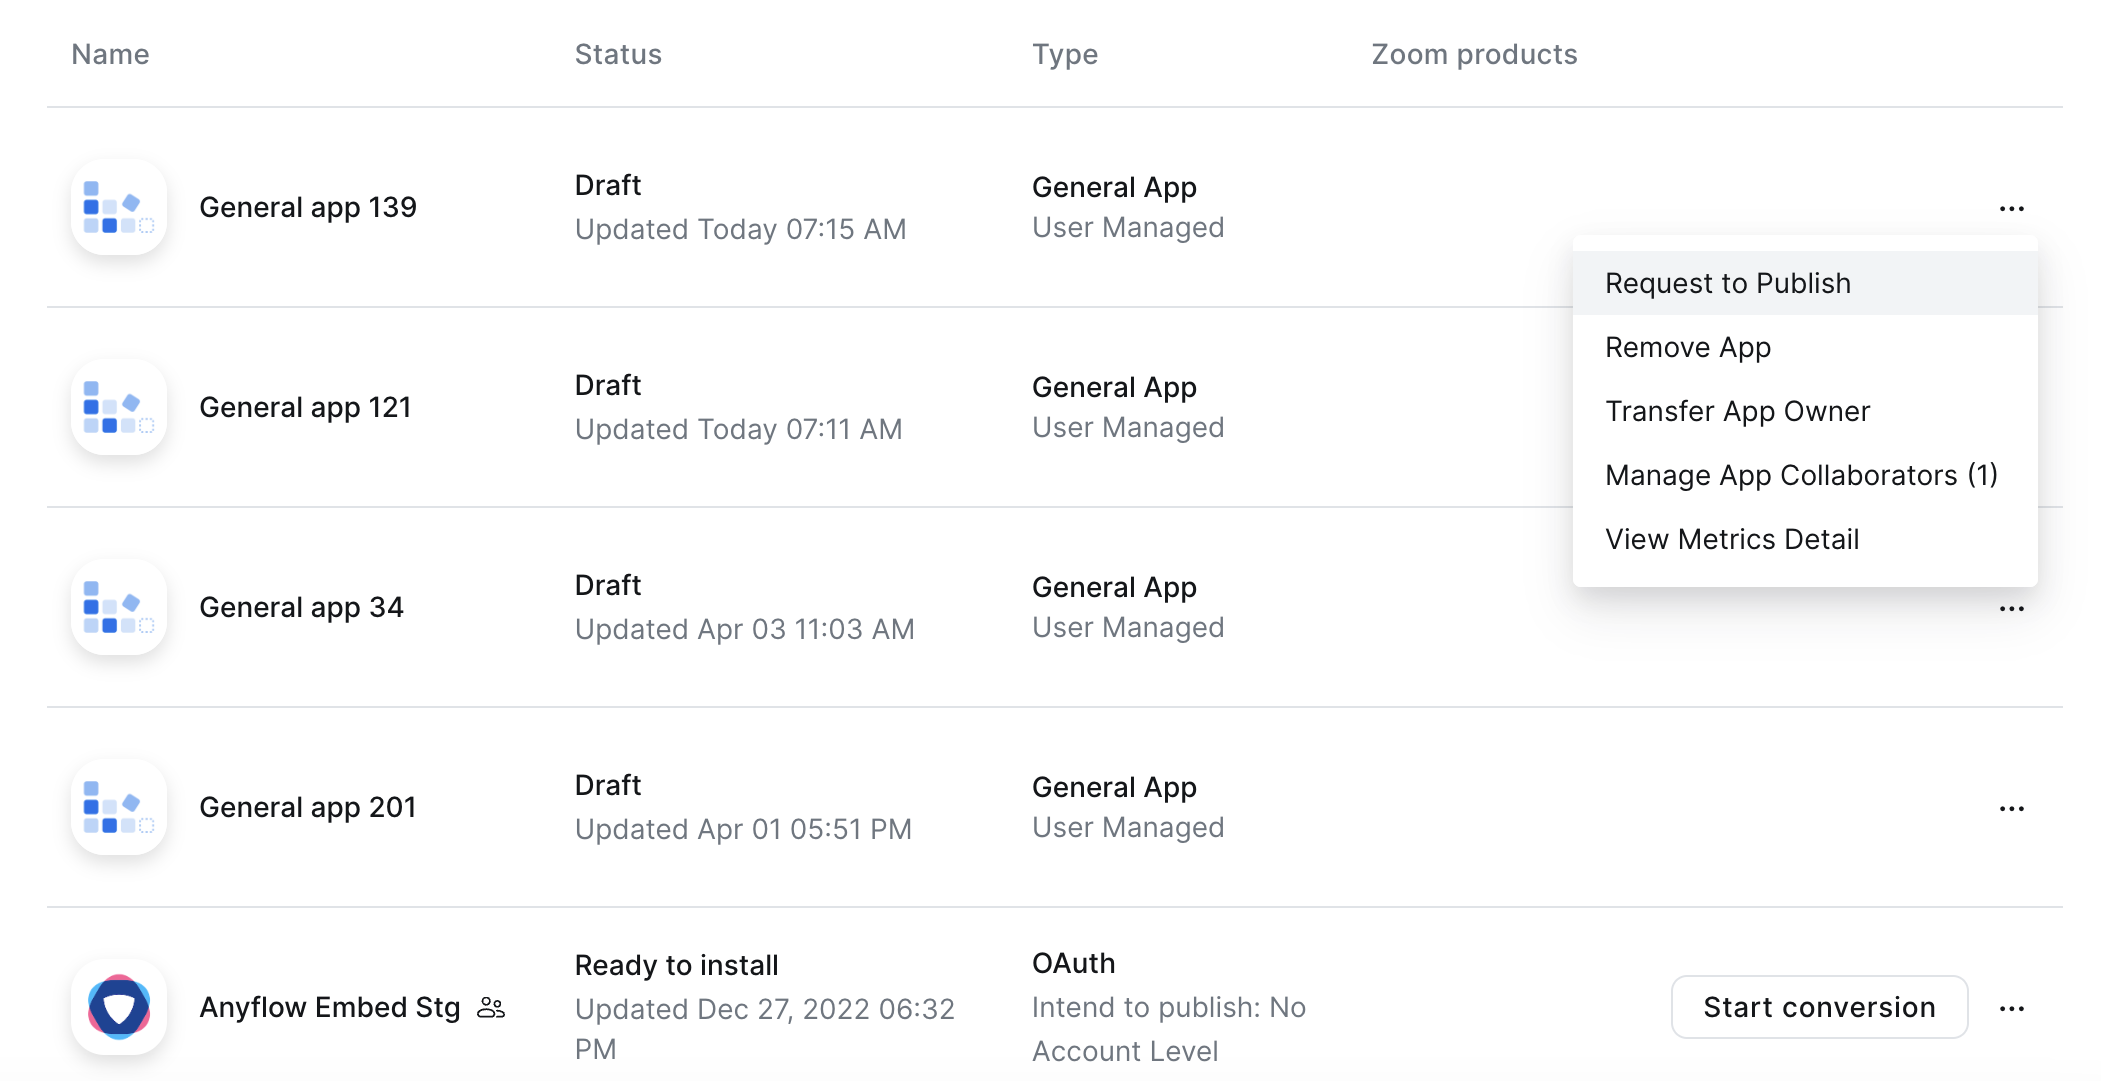
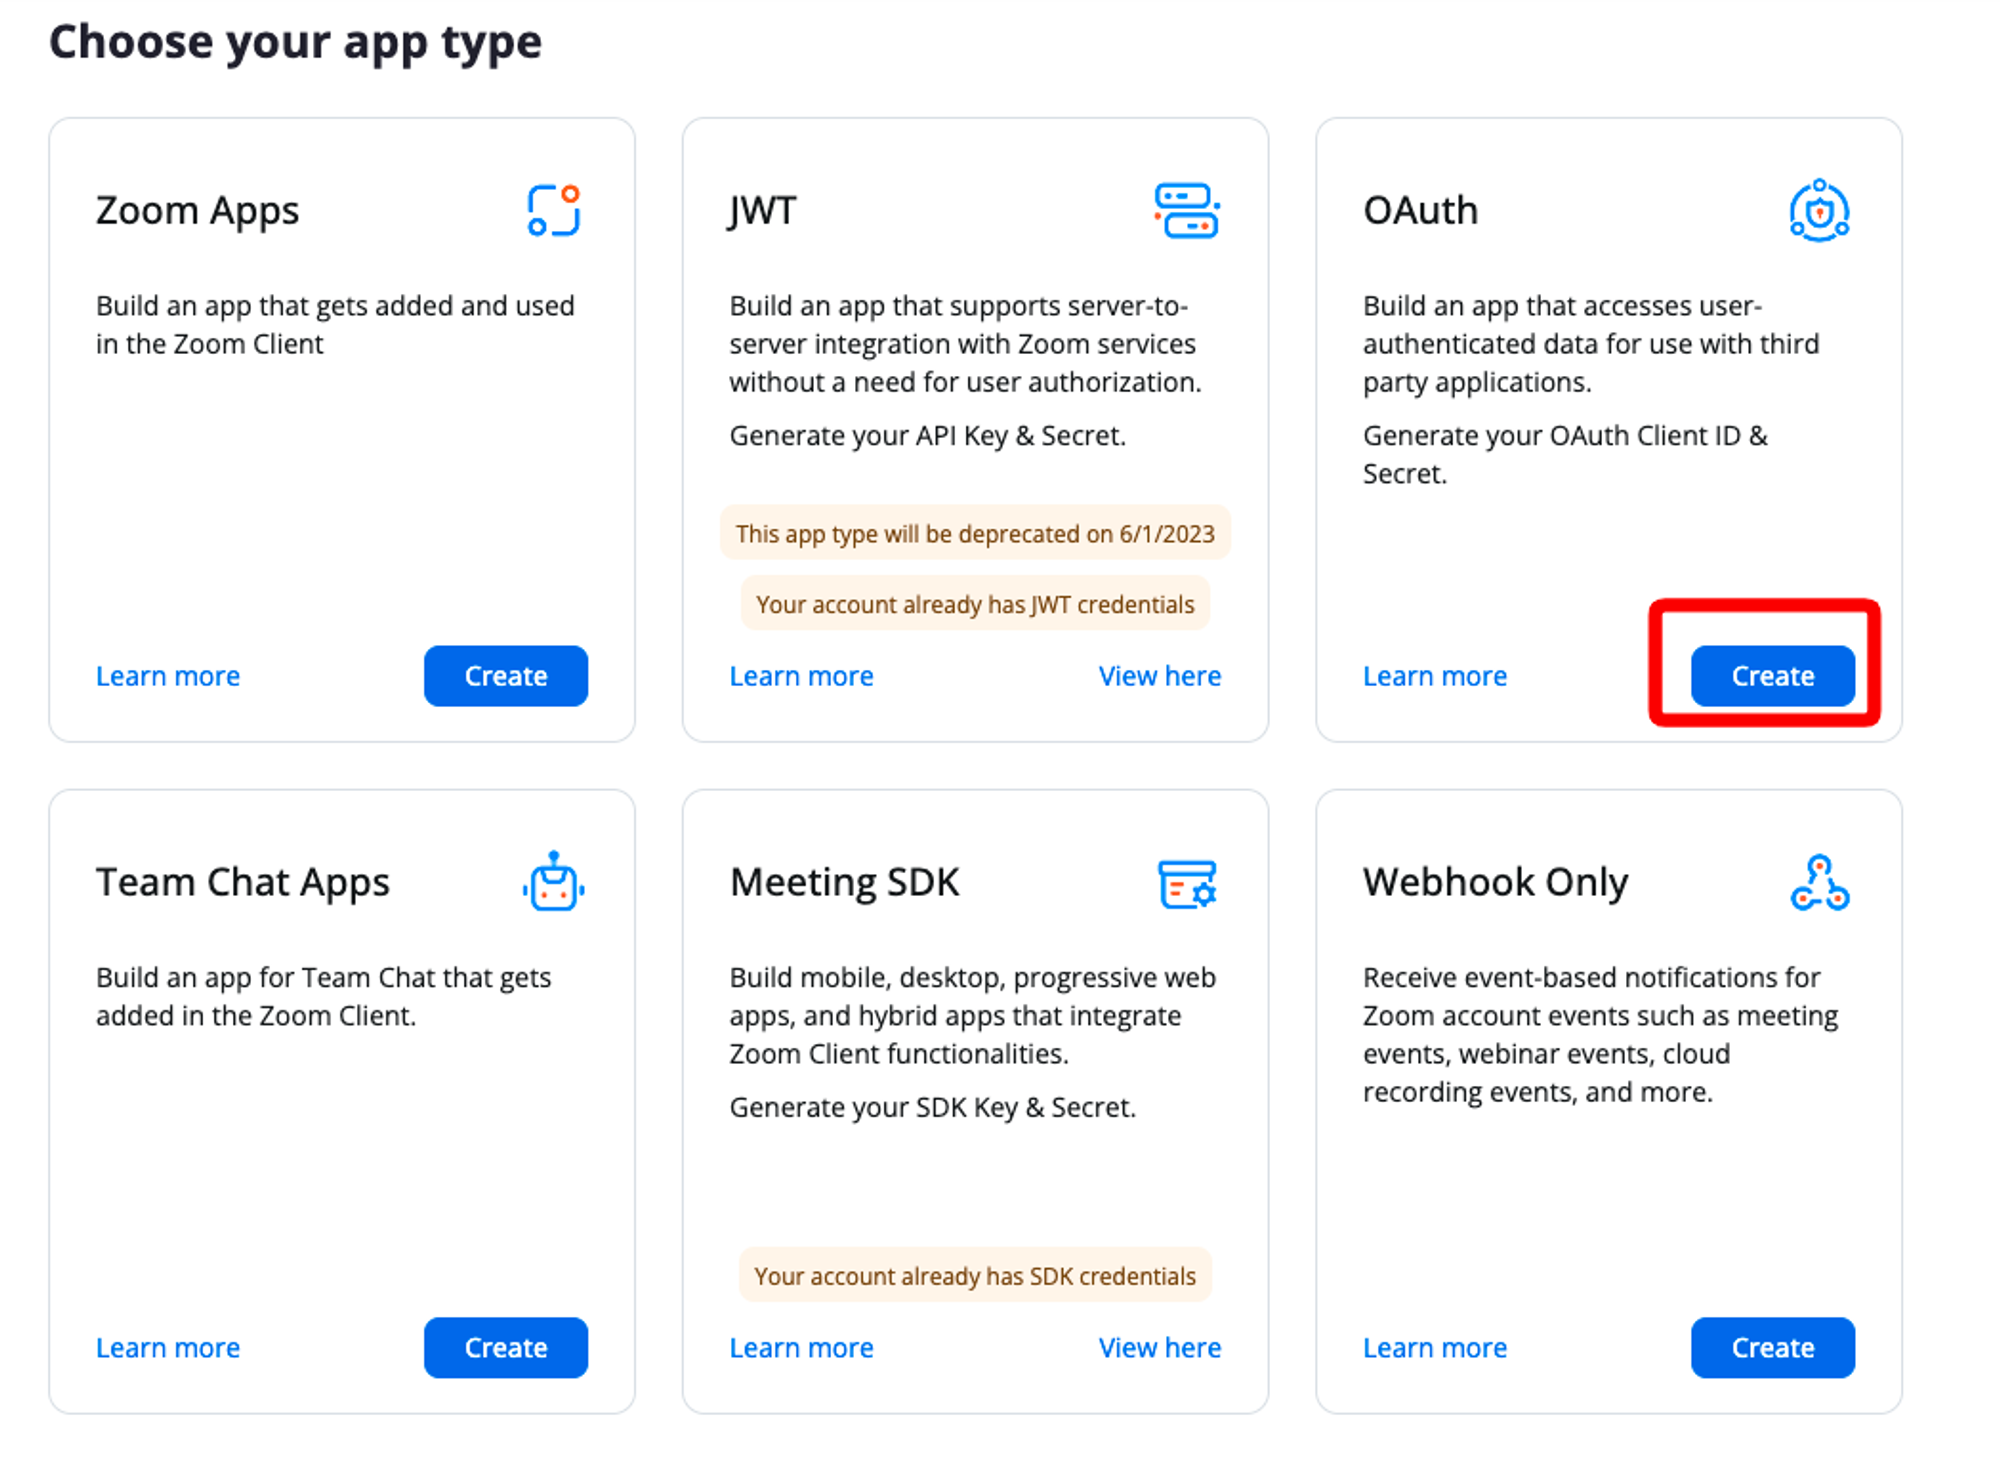
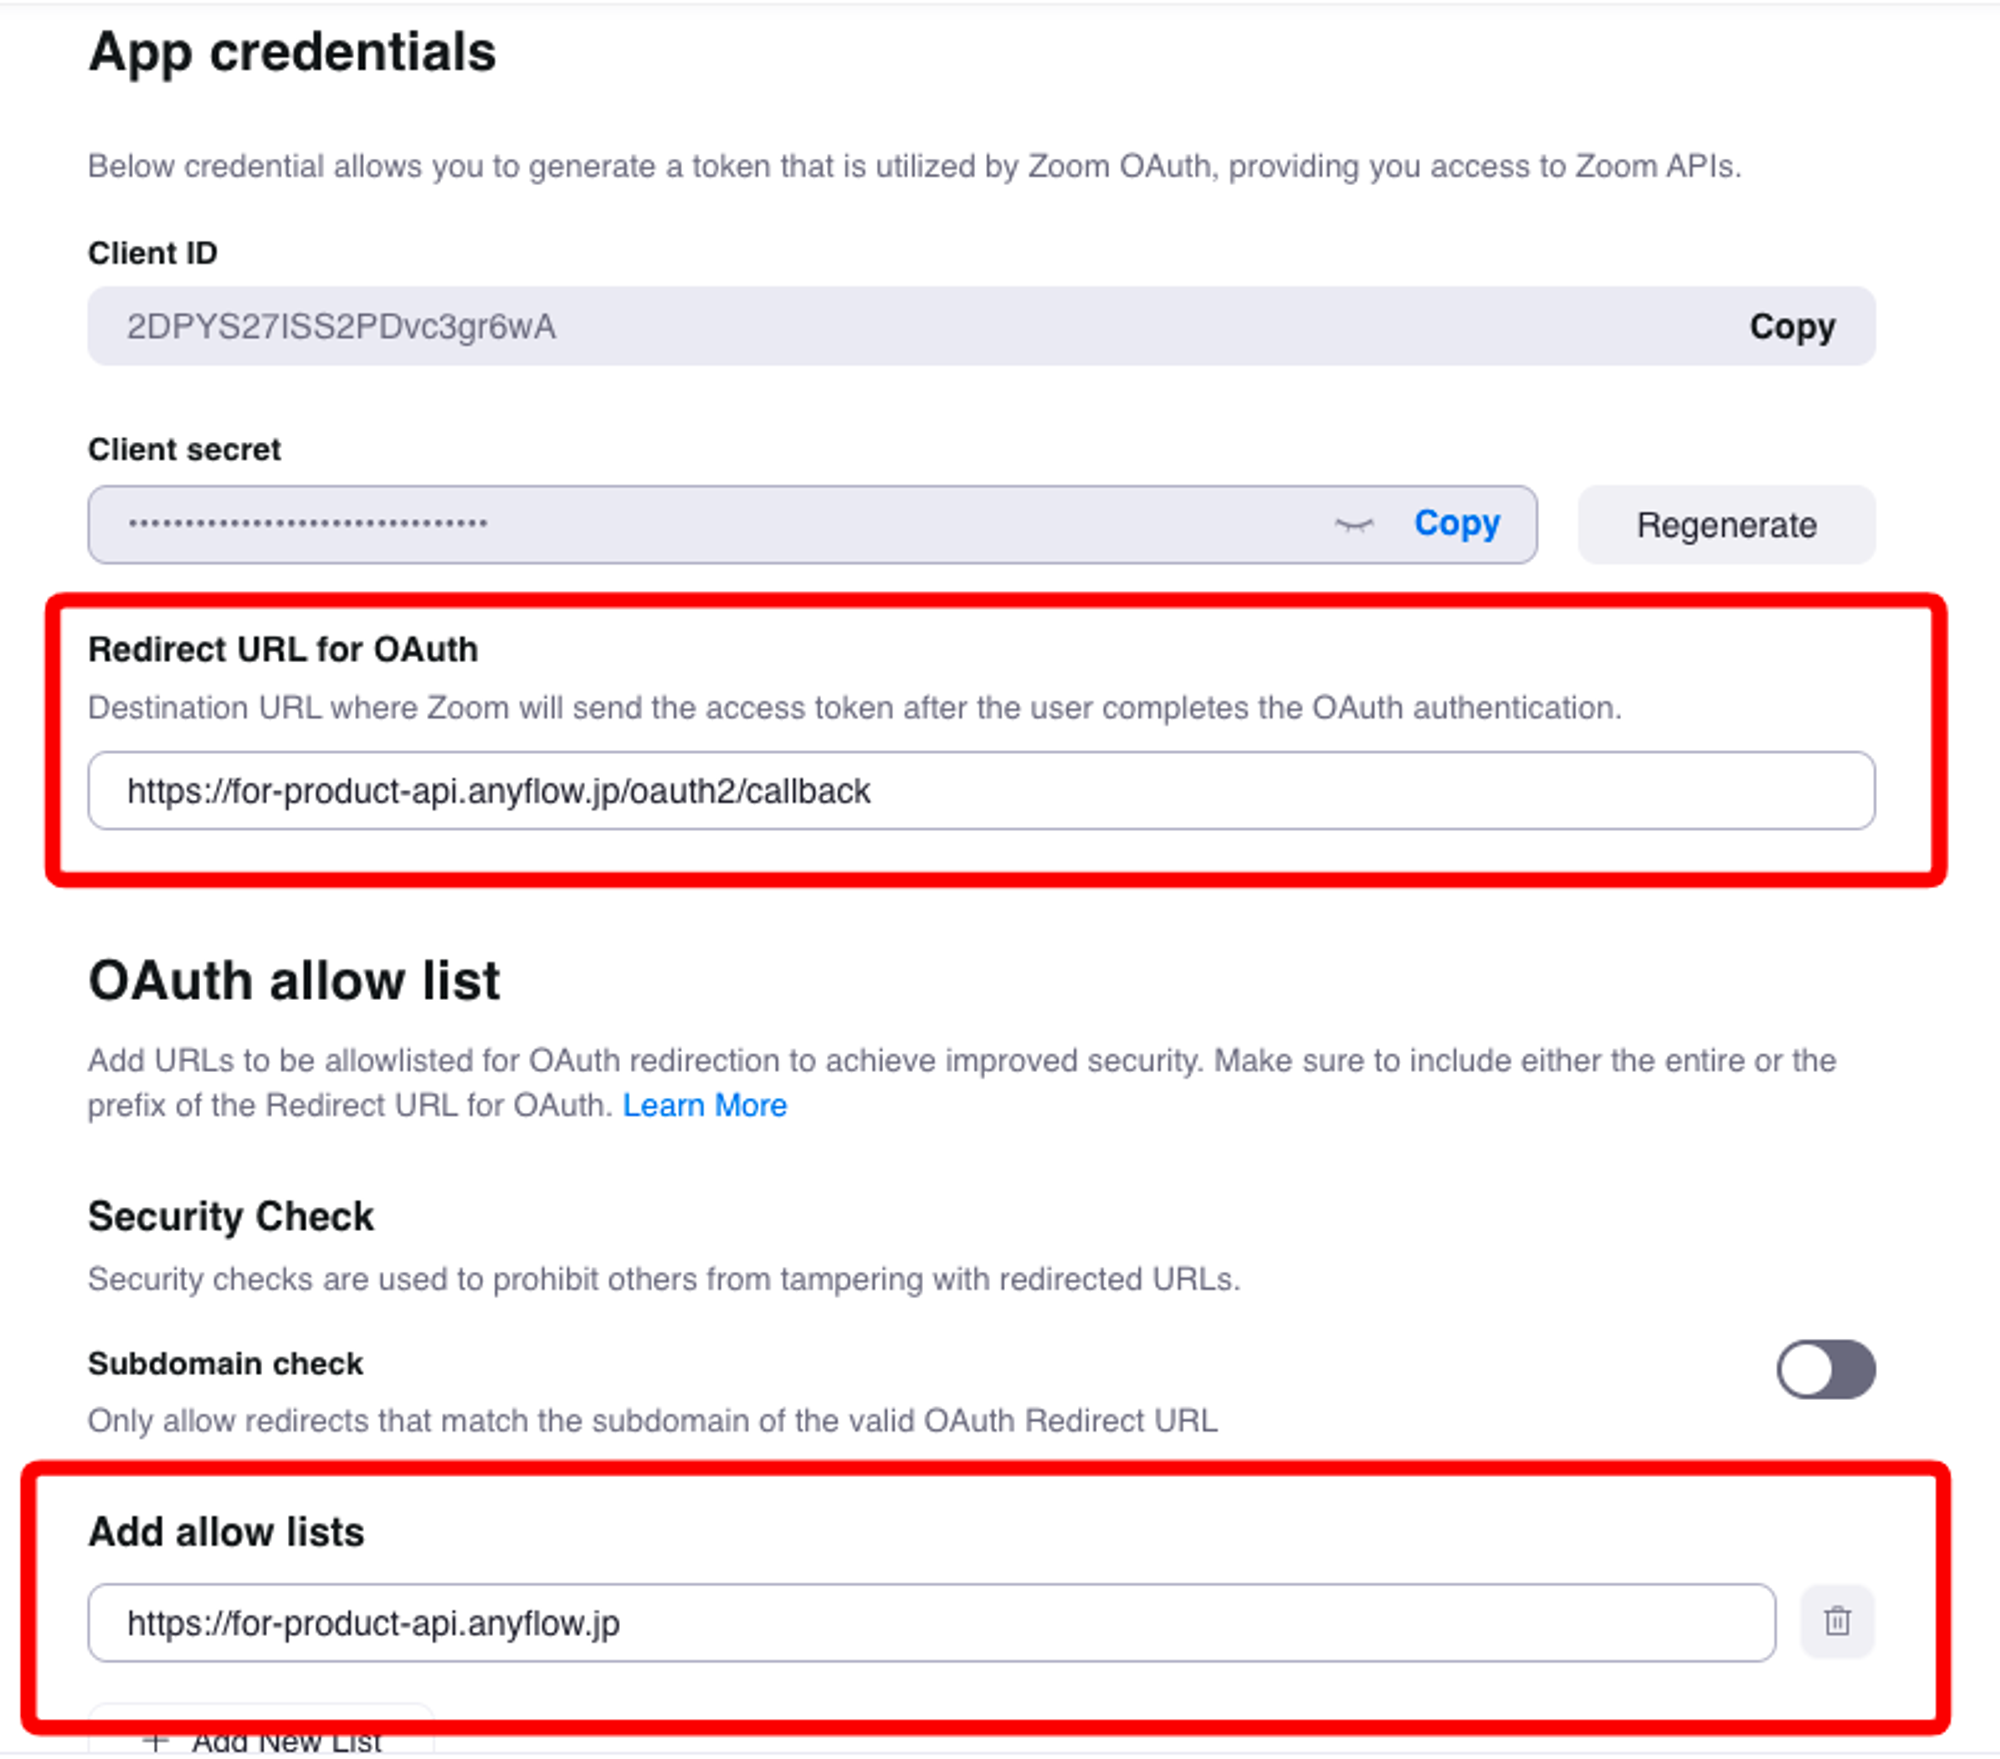
| #1 | Zoom | ZoomアカウントでのOAuth認証 | - OAuthクライアントの作成 - OAuthクライアントの審査提出 - AnyflowへのクライアントID/シークレット共有 |
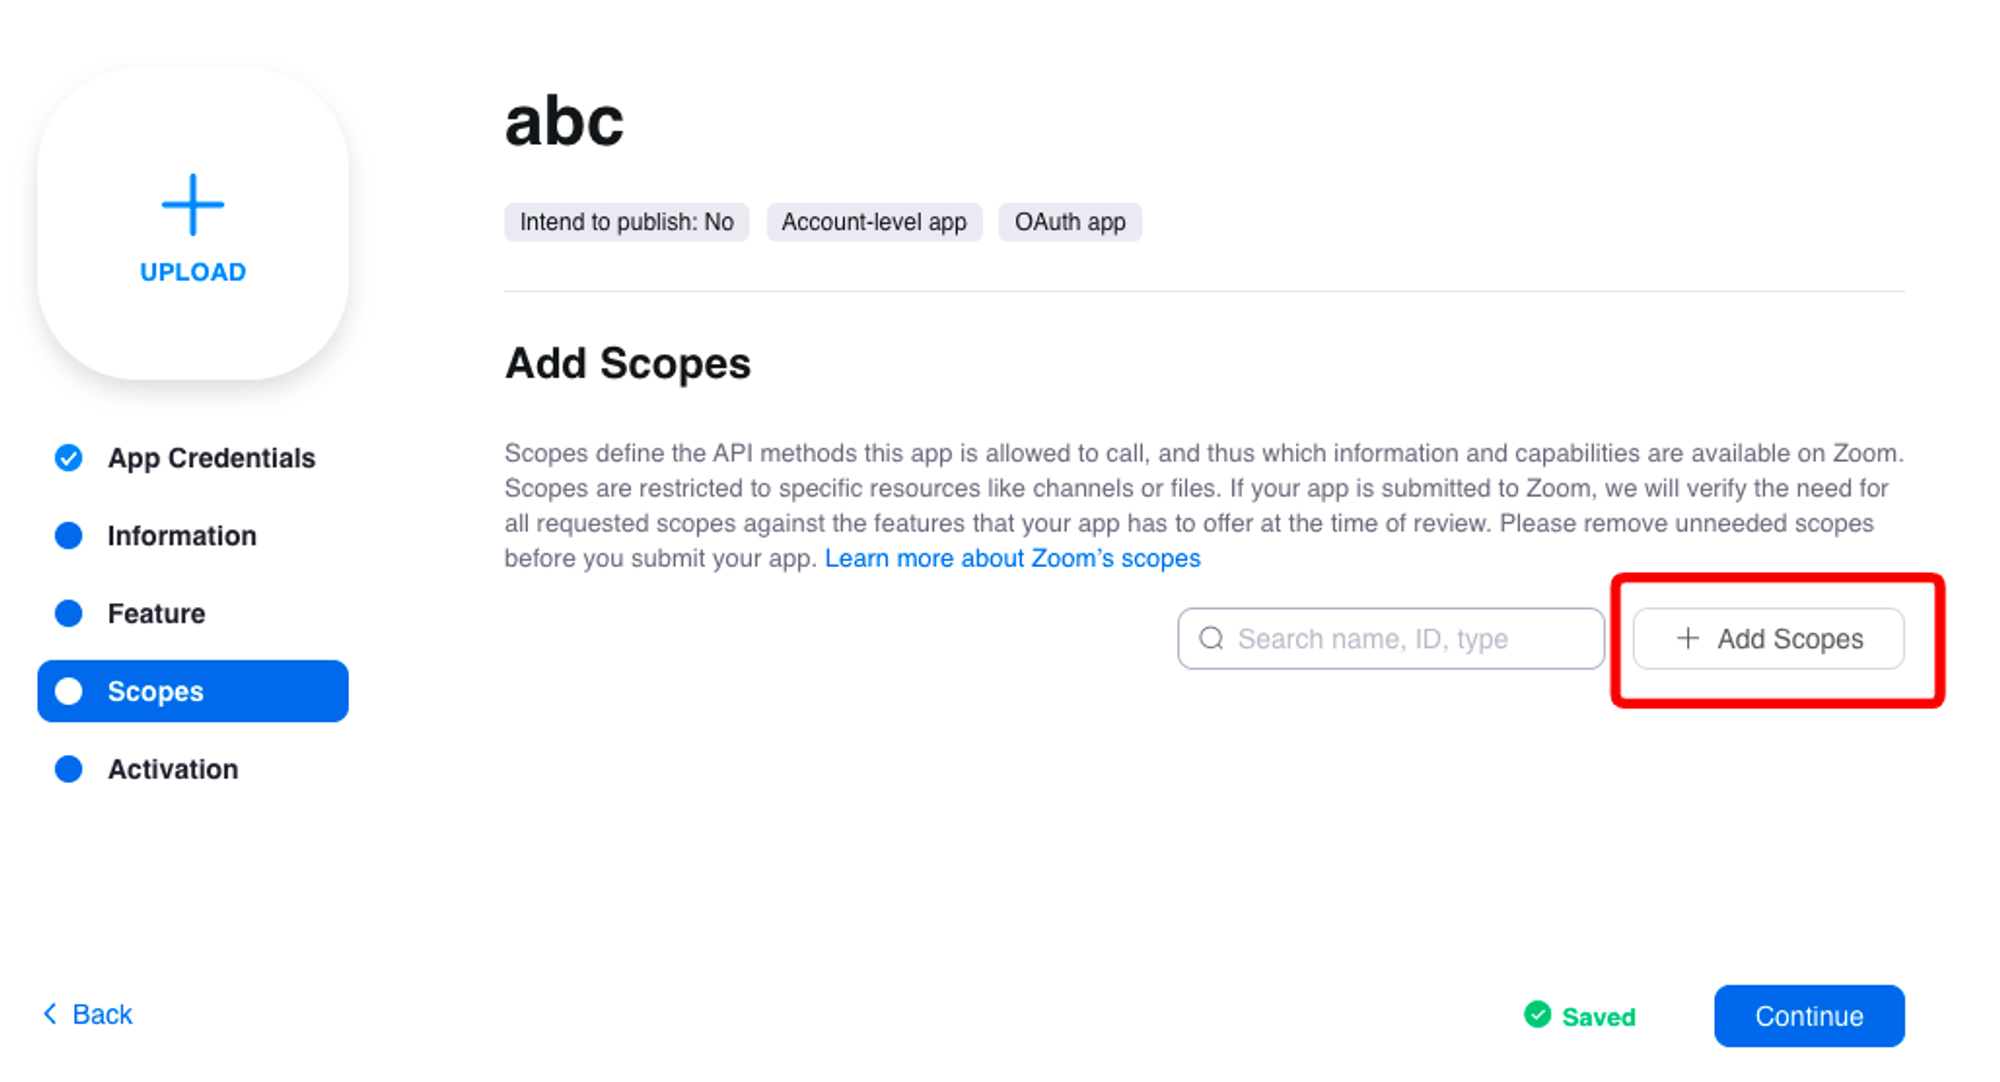
| #2 | Zoom (カスタム) | エンドユーザー自身がOAuthクライアントを作成。 そのクライアントID/シークレットで認証 | 特になし |
| プロダクト | セクション | スコープの説明 | スコープ |
|---|---|---|---|
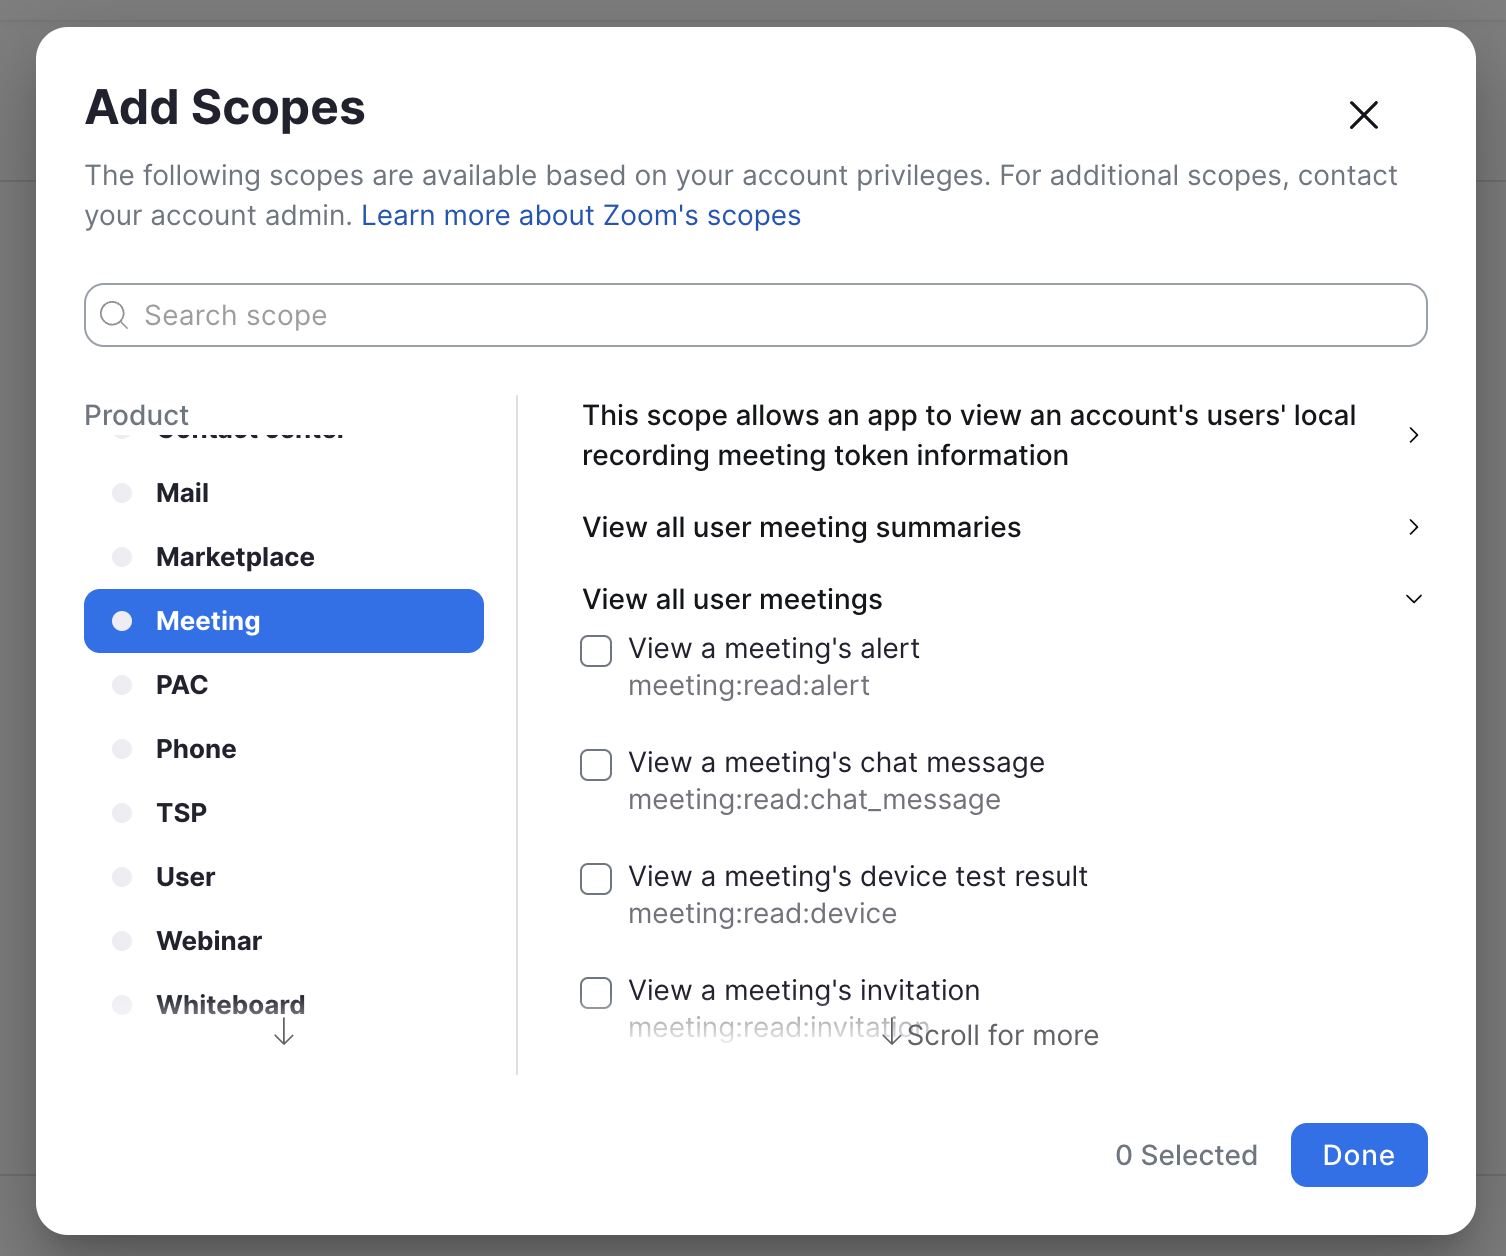
| Meeting | View all user meetings | View a meeting | meeting:read:meeting:admin |
| View and manage your meetings | Create a meeting for a user | meeting:write:meeting:admin | |
| View live streaming meeting token information | View a meeting live streaming join token | meeting:read:live_streaming_token:admin | |
| This scope allows an app to view an account’s user’s local recording meeting token information | View a meeting local recording join token | meeting:read:local_recording_token:admin | |
| User | View all user information | View a user | user:read:user:admin |
| View users information and manage users | Create a user | user:write:user:admin |